 share on pinterest
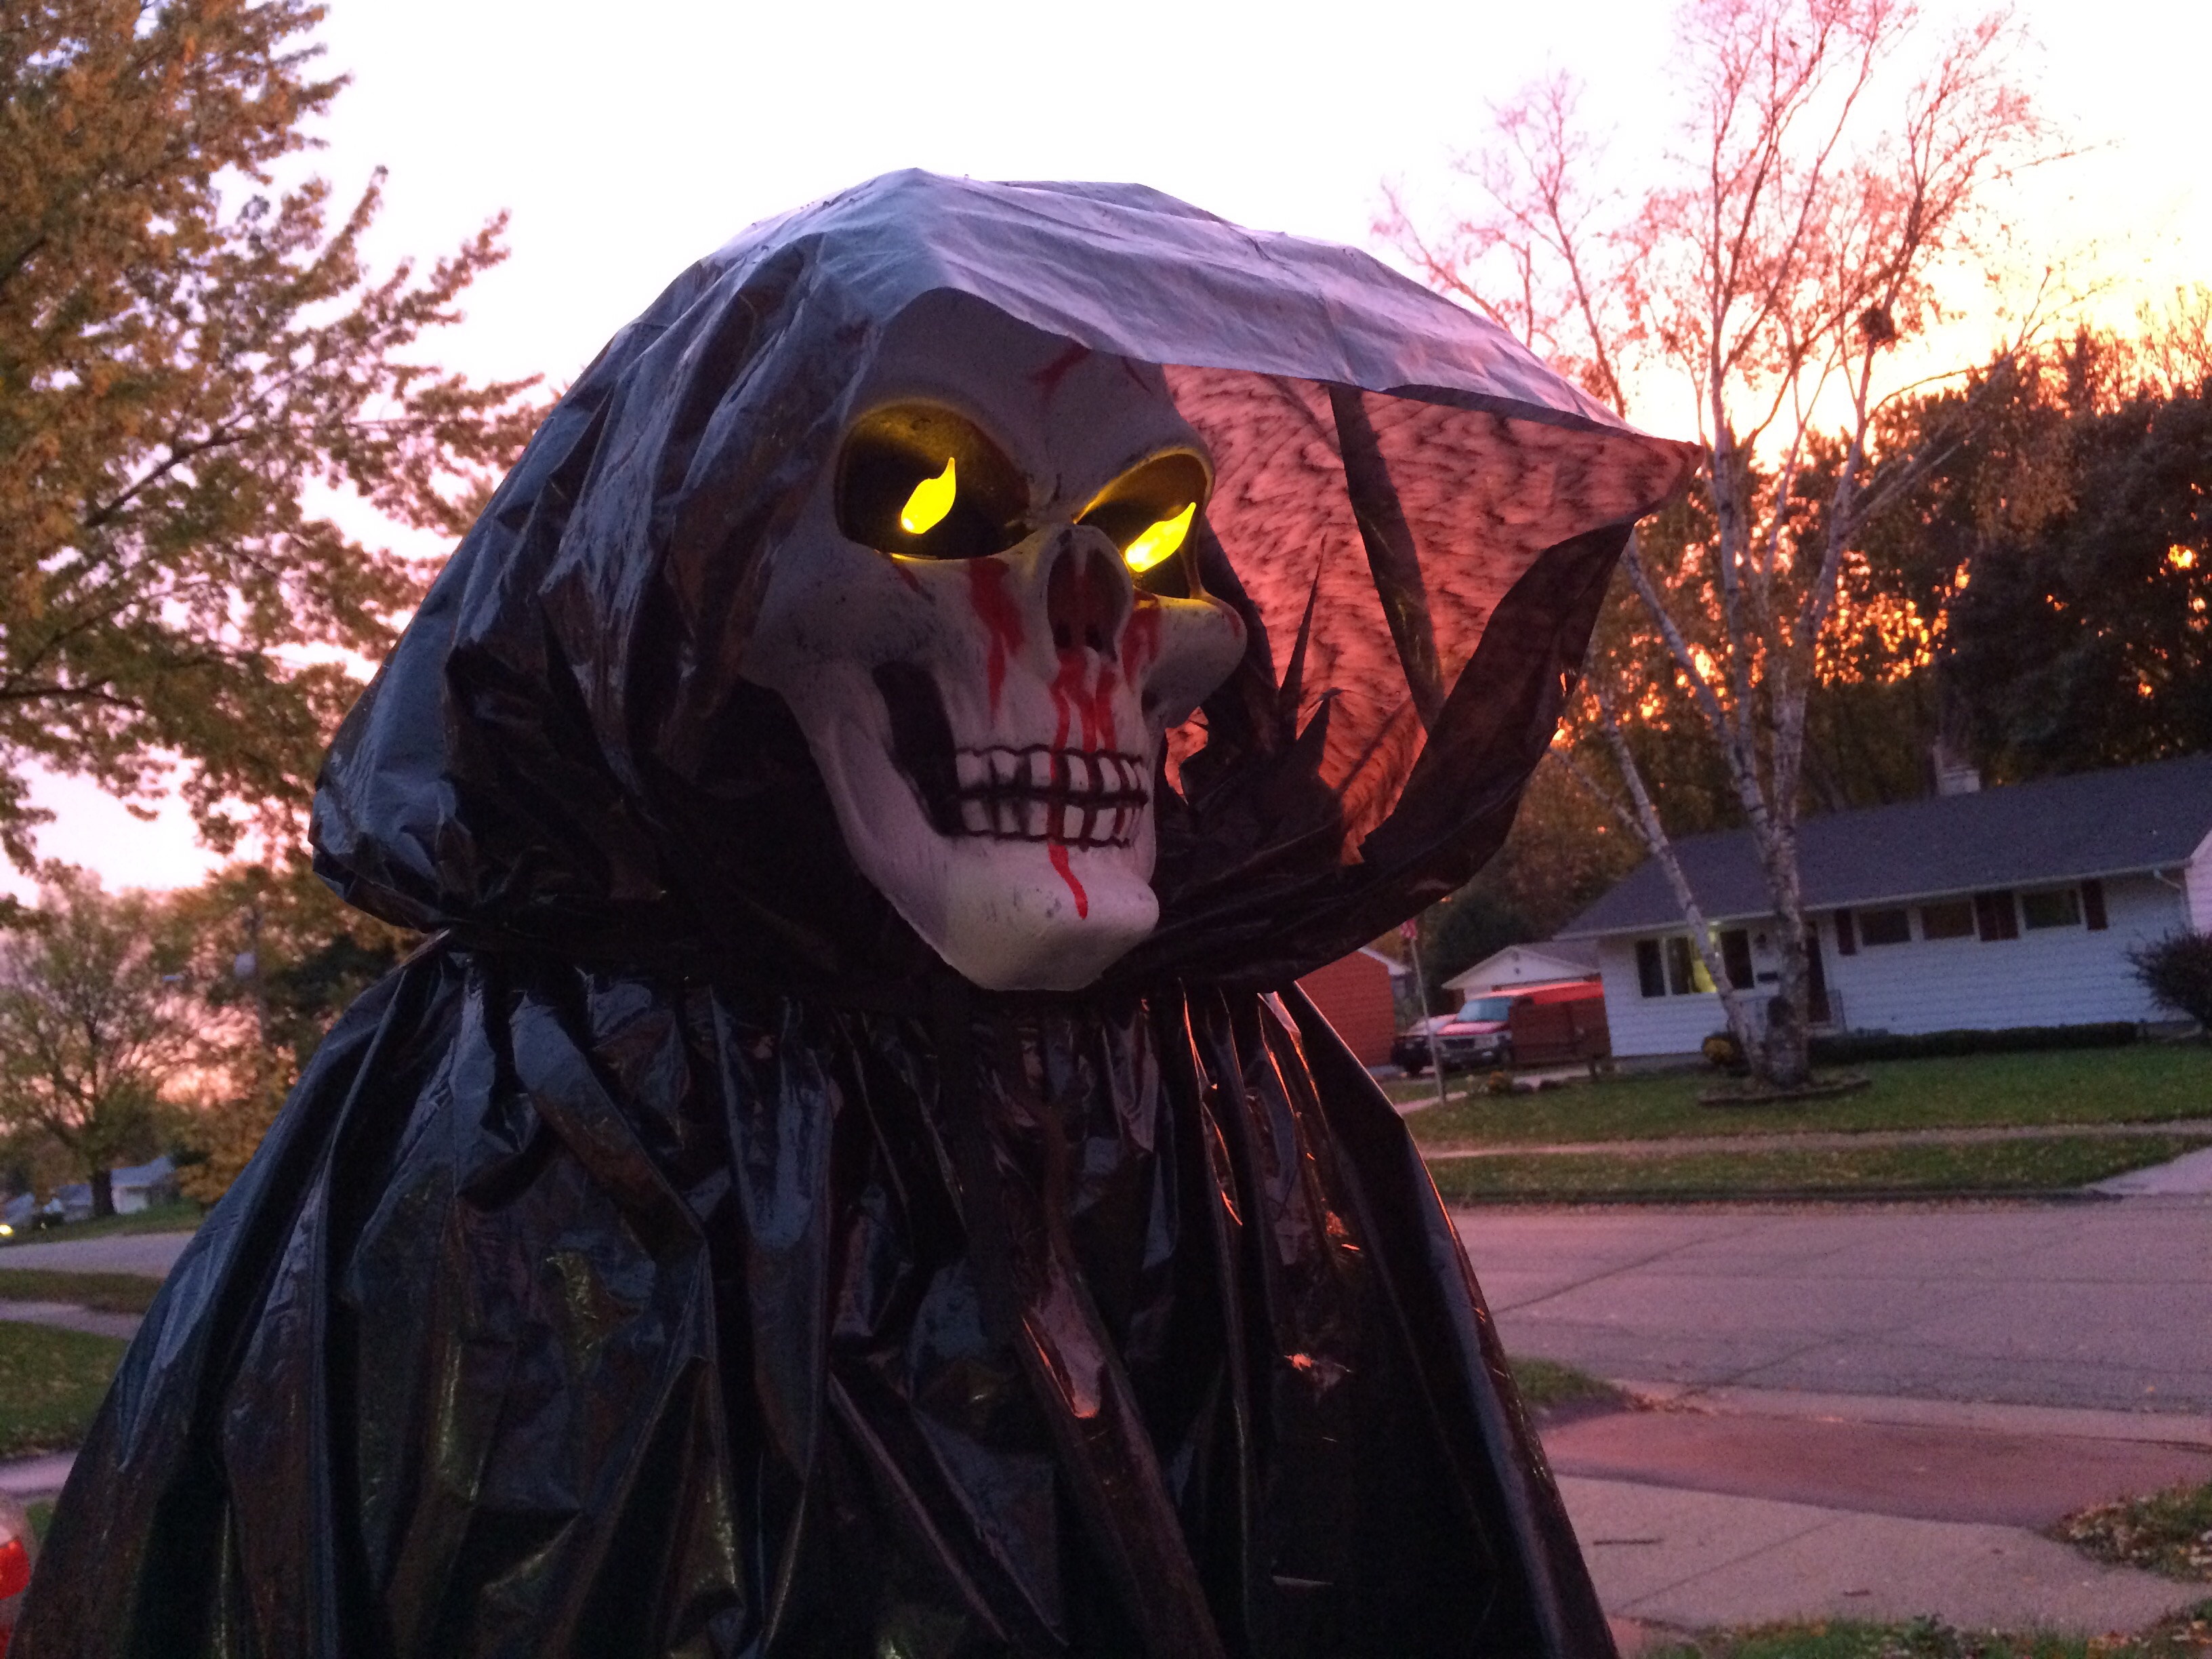
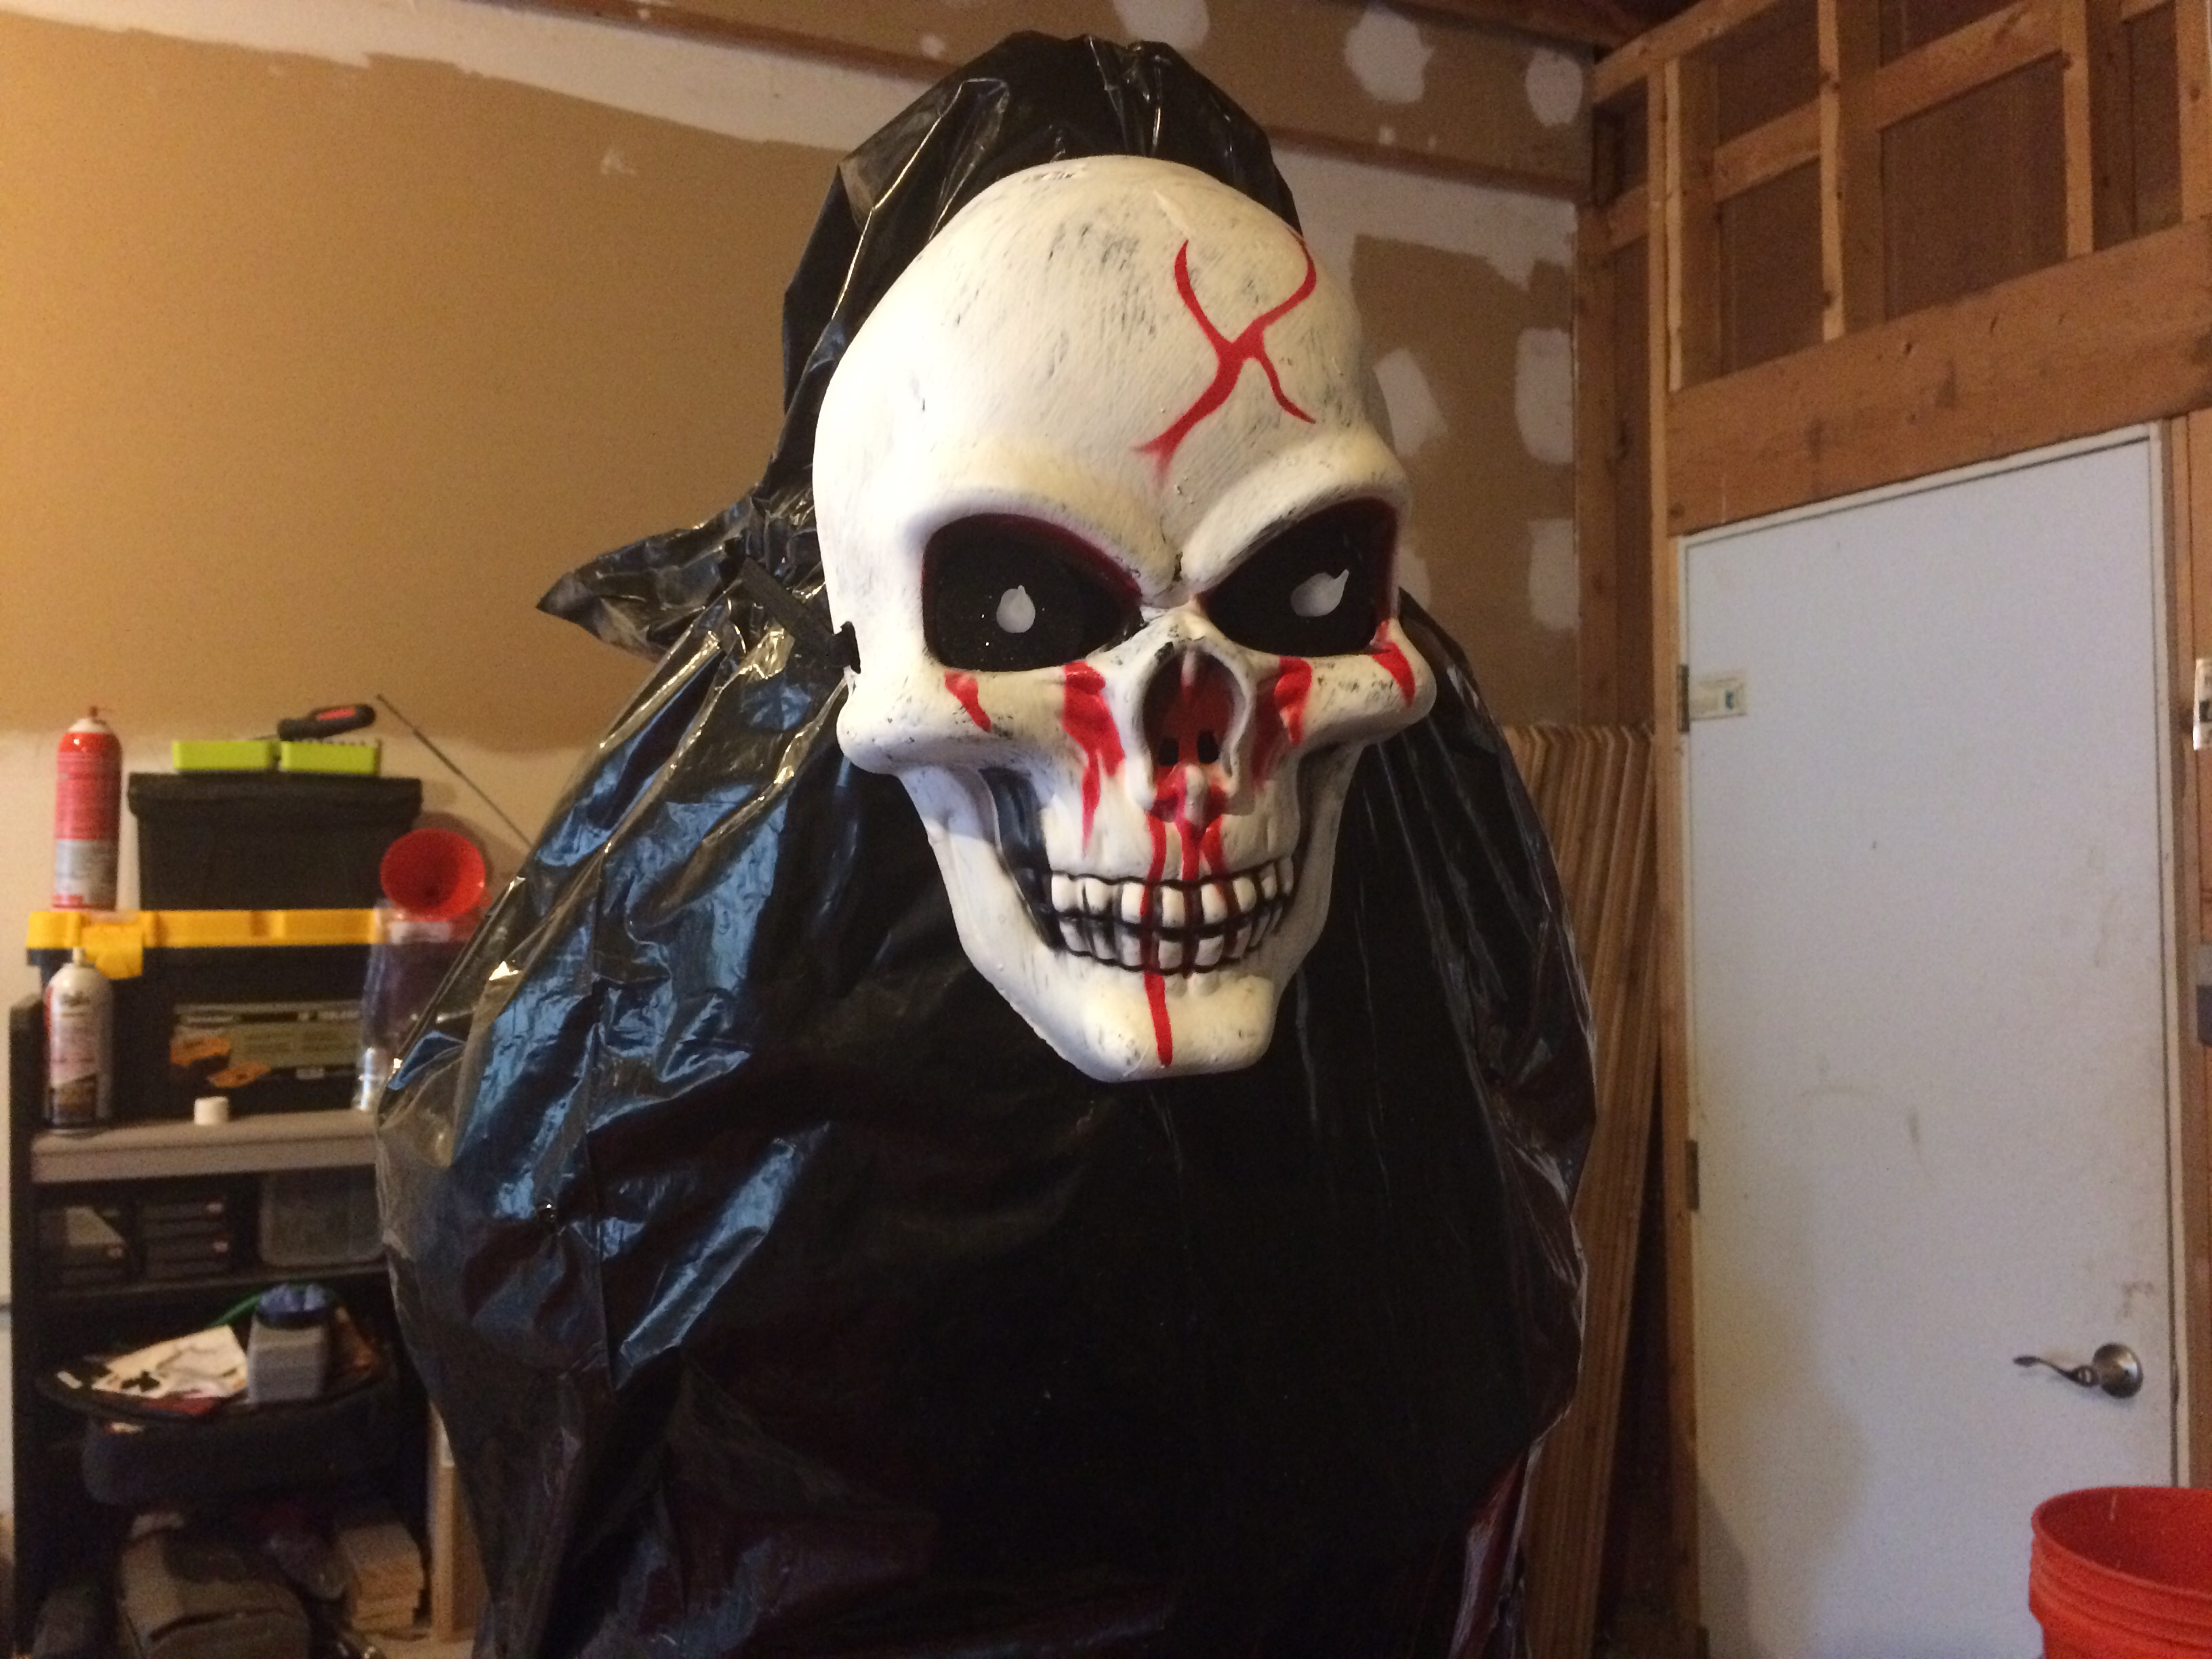
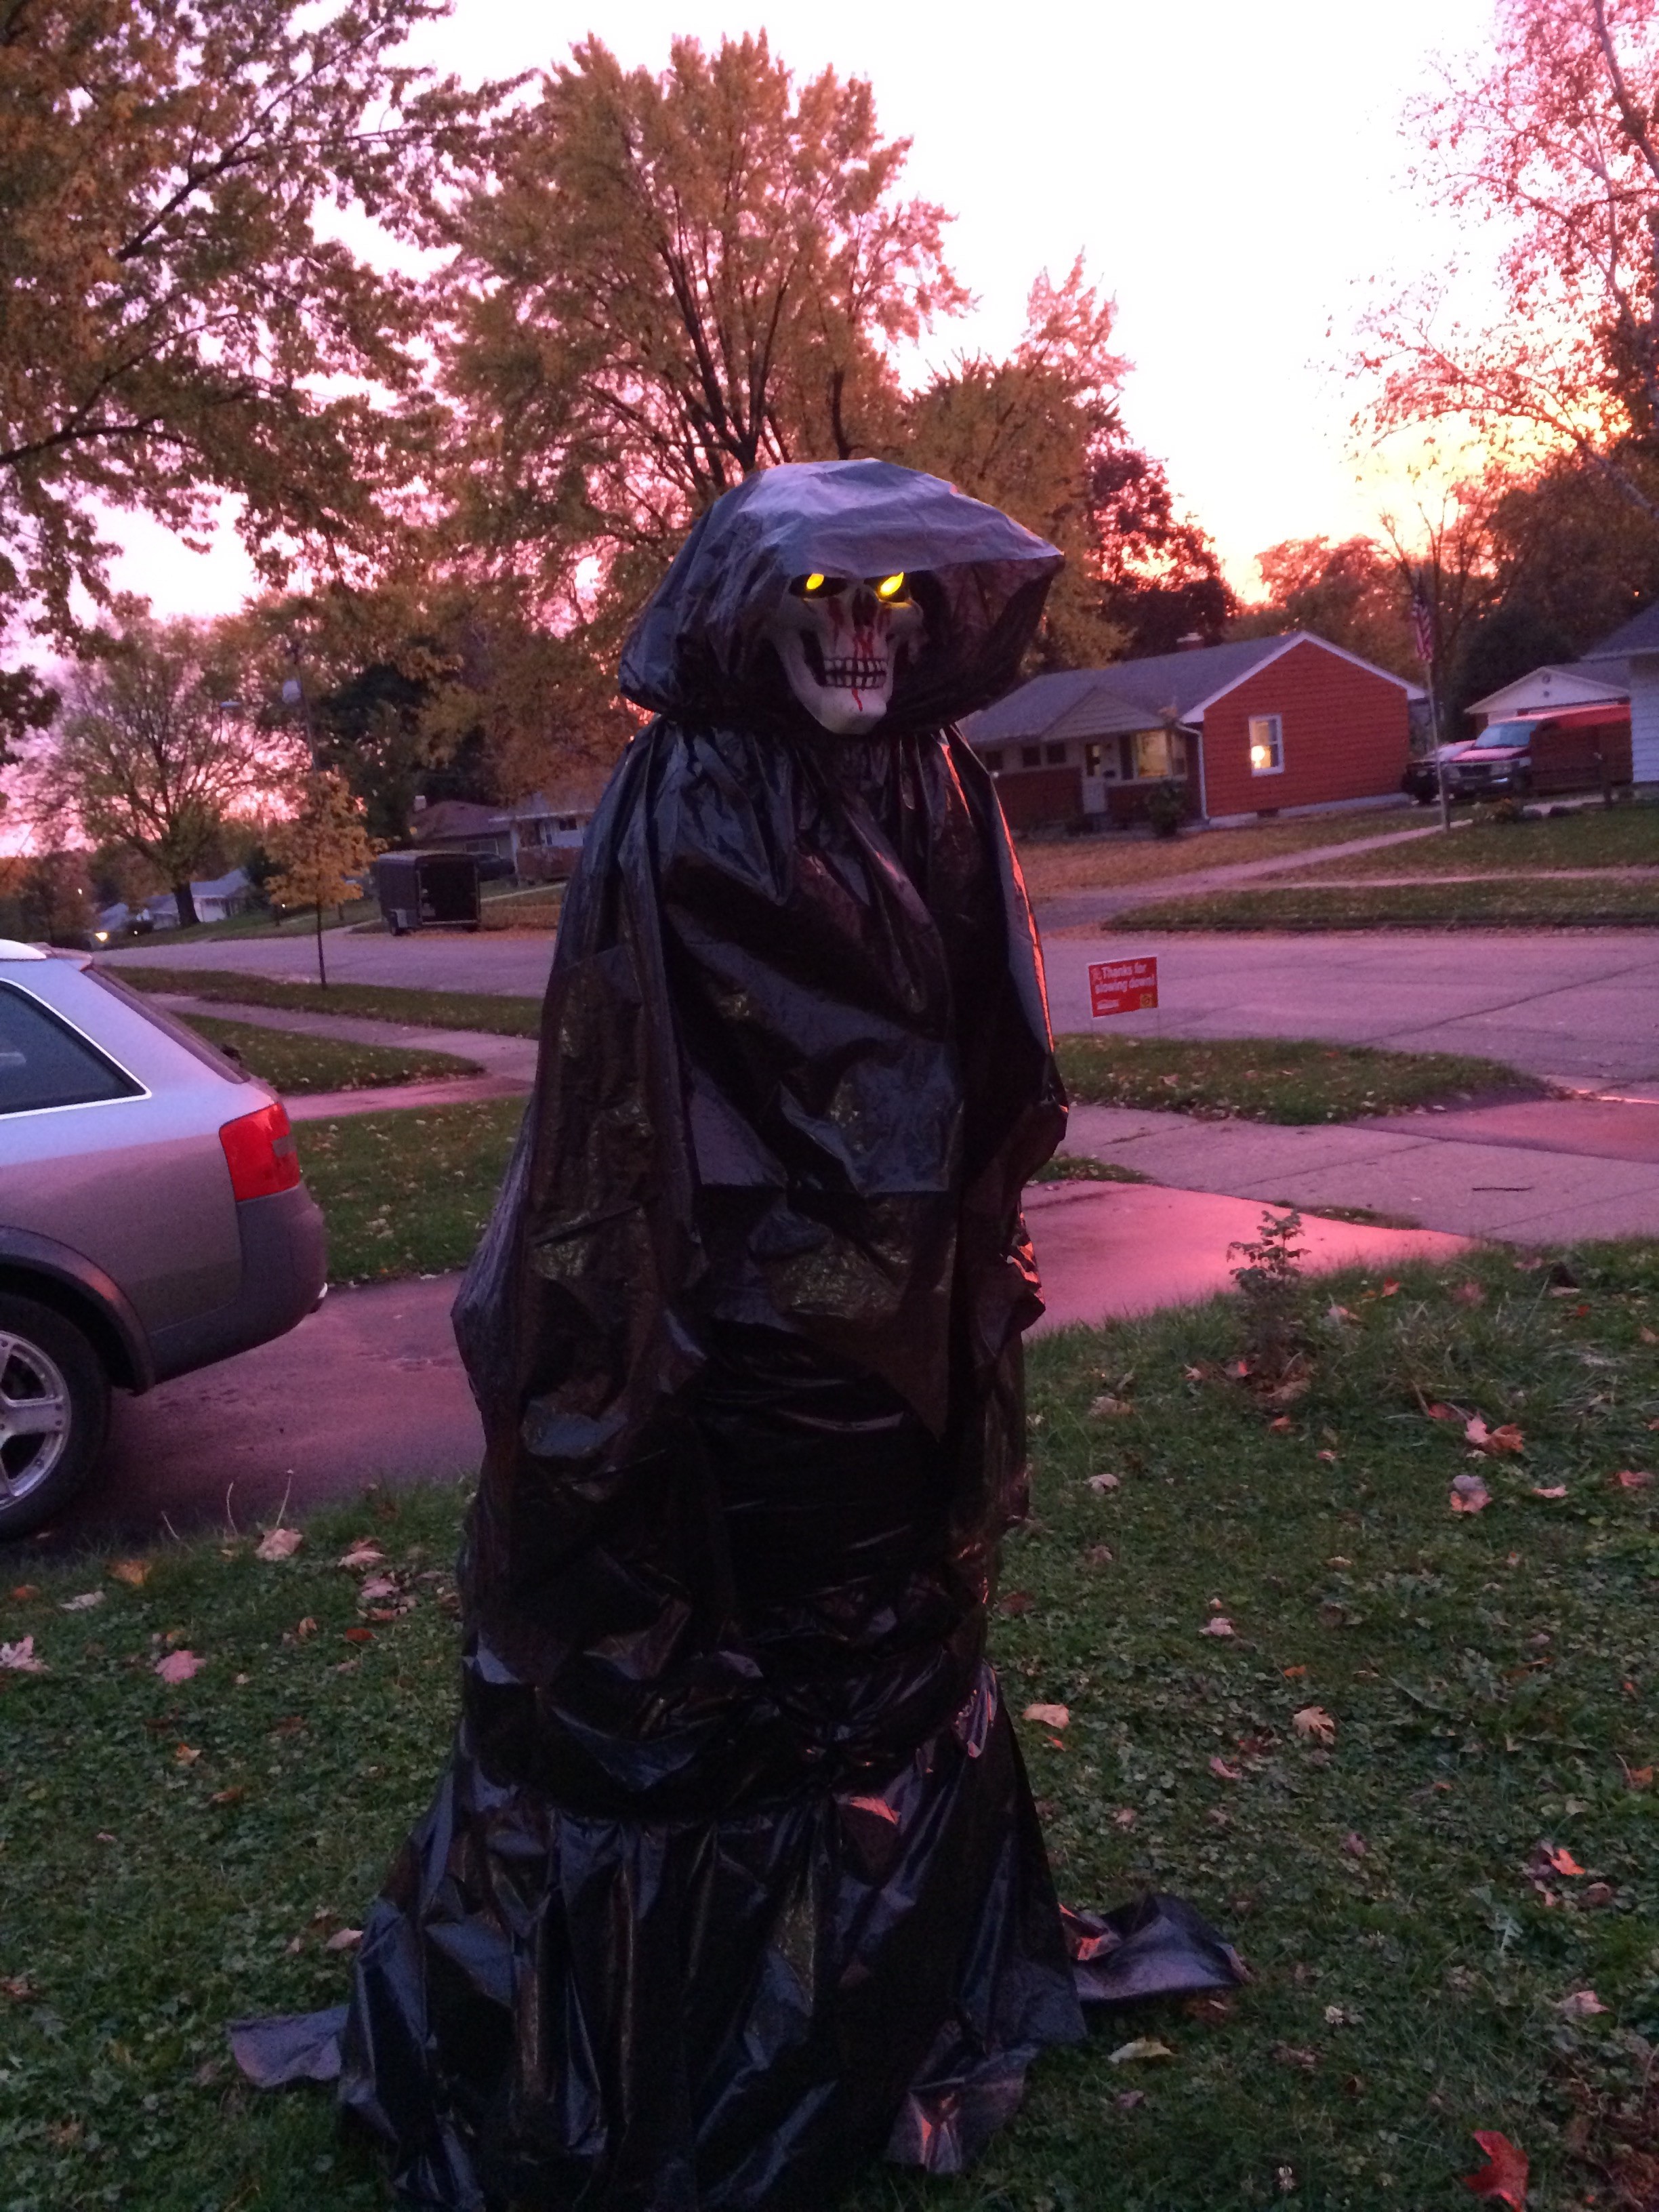
This Halloween prop is inexpensive to make, and is tall enough to loom over trick-or-treaters. Lit with glowing tea-light eyes, this figure is especially frightening after dark.
 Materials:
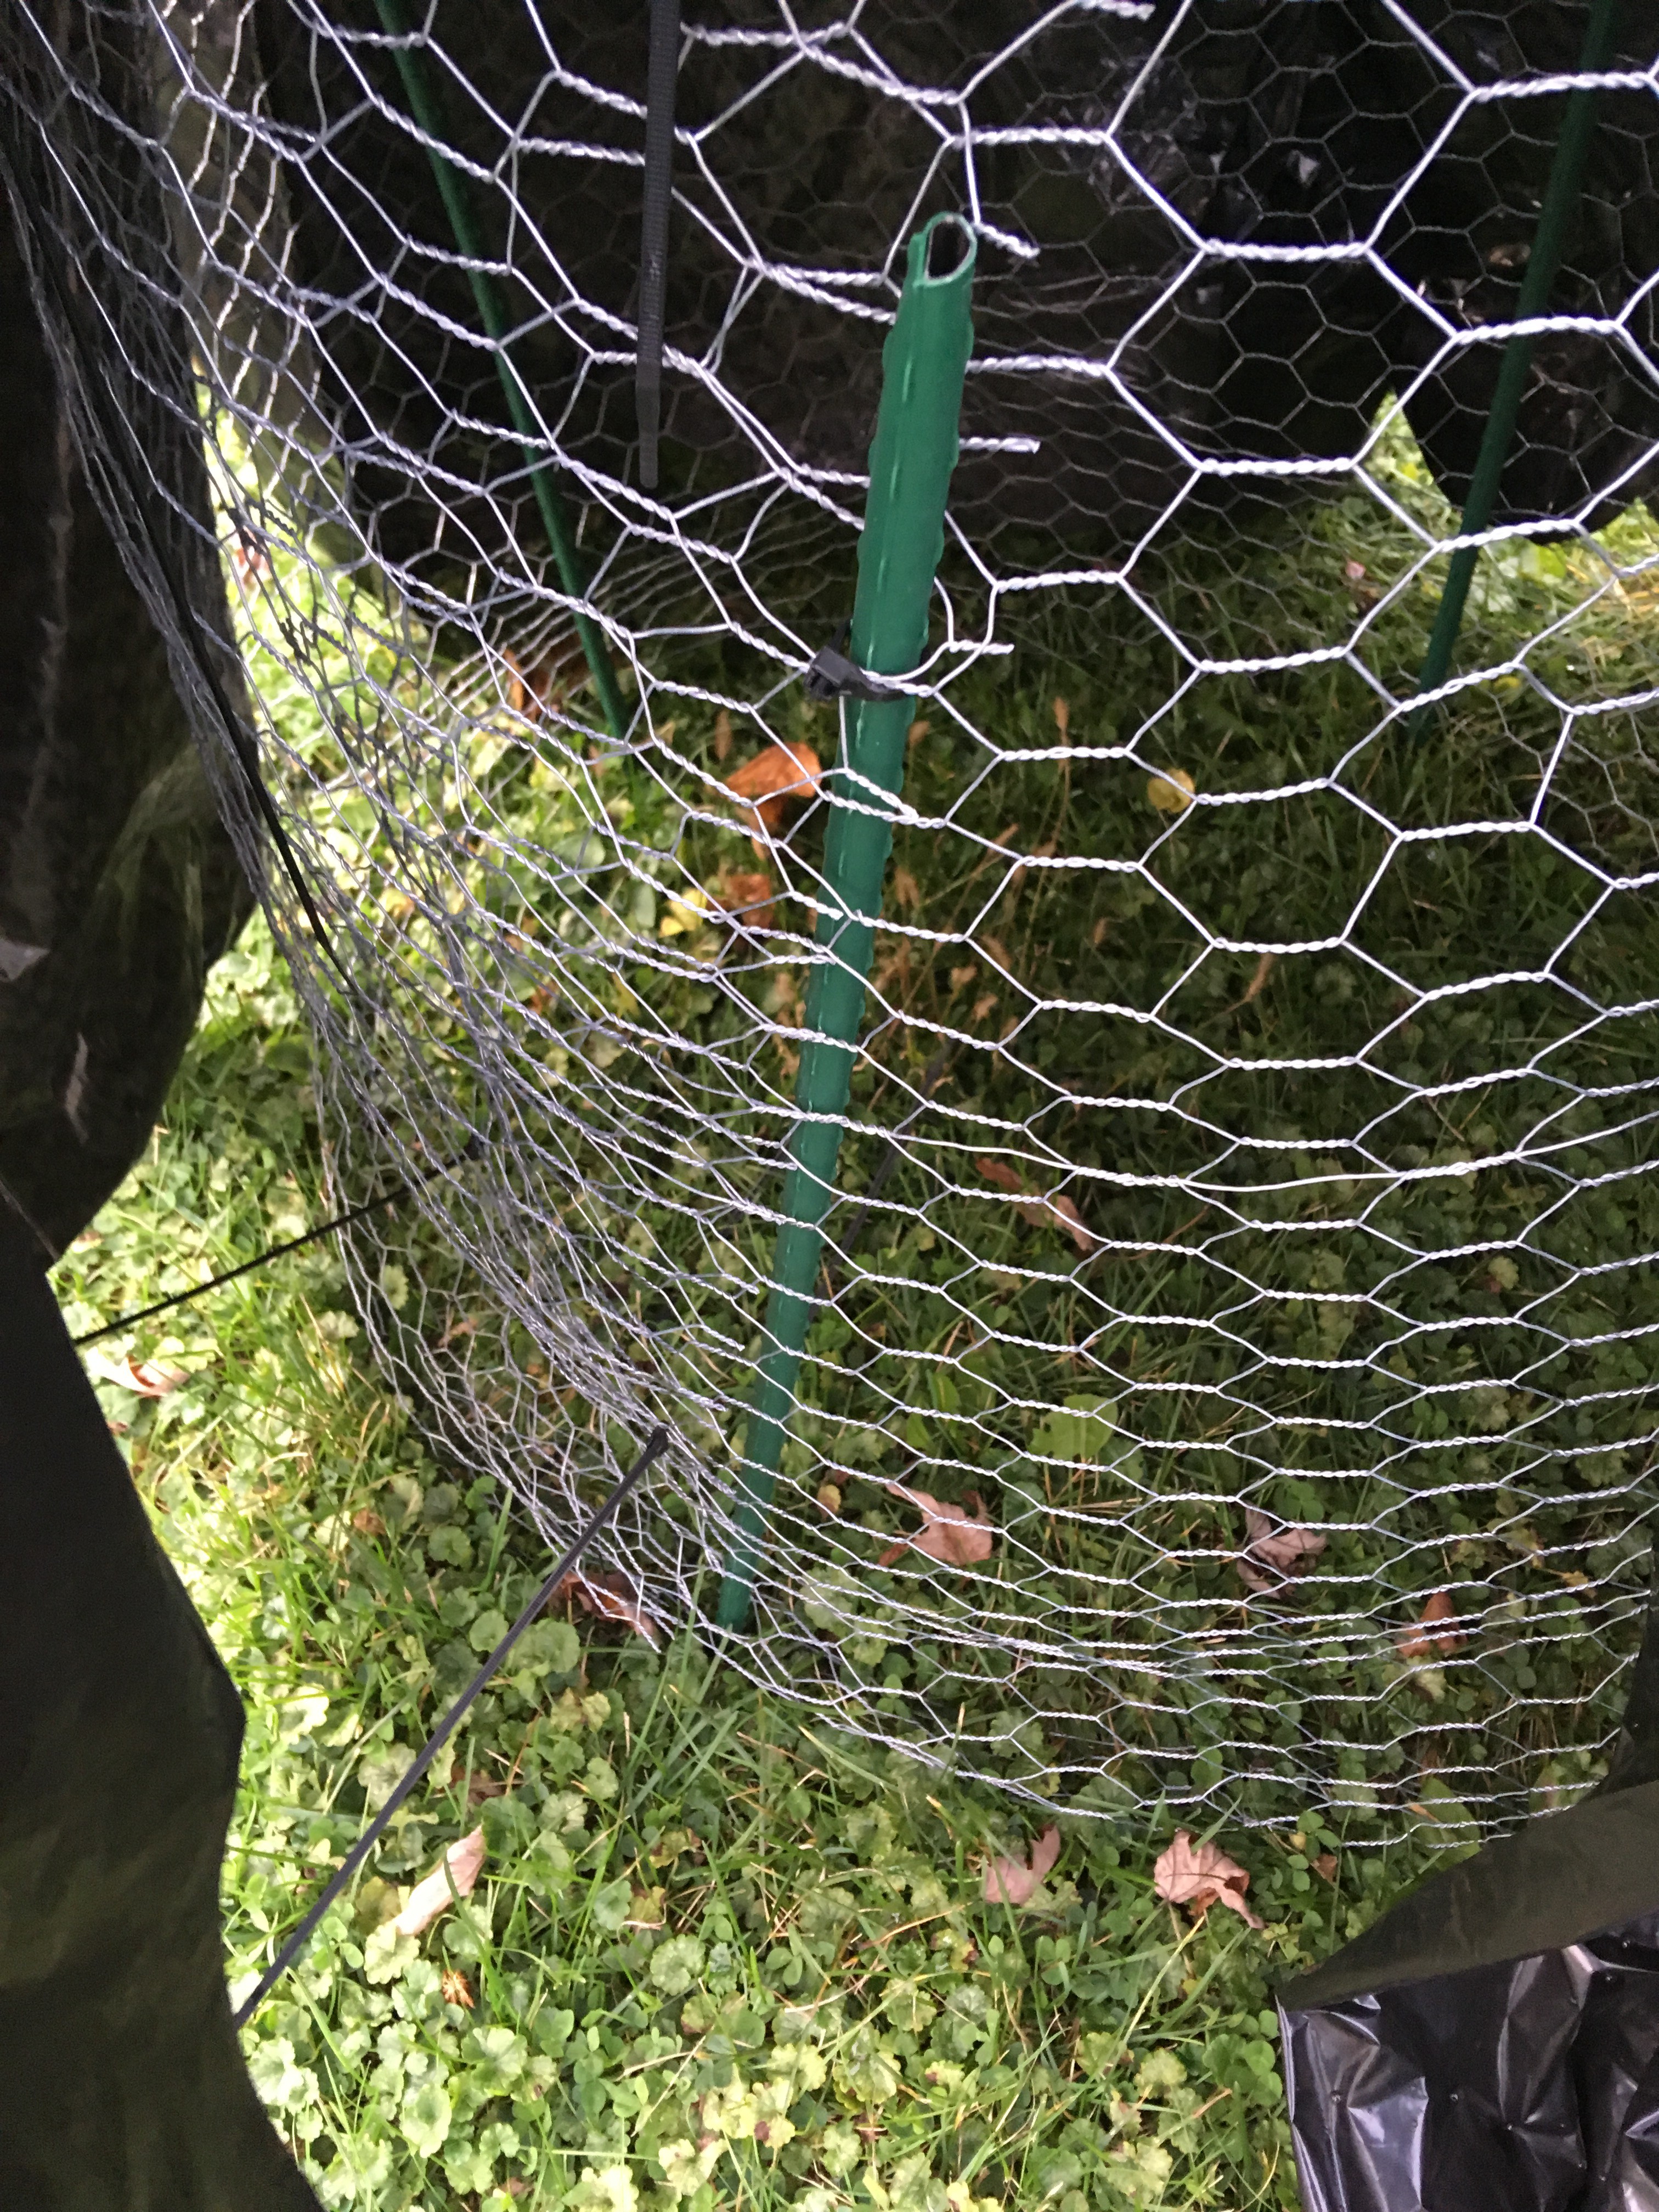
- 1 3’x15’ foot roll Chicken Wire
- Wire Cutters
- Zip Ties
- 7 Black Garbage Bags (as large as possible)
- Scissors
- 15’ Black Elastic
- 1 Plastic Mask
- 2 Black Tea Lights
- Duct Tape
- Landscaping Fabric U-pins
- 4 Garden Stakes
- 2×8” Plank and Box Staples (Optional)
Instructions:
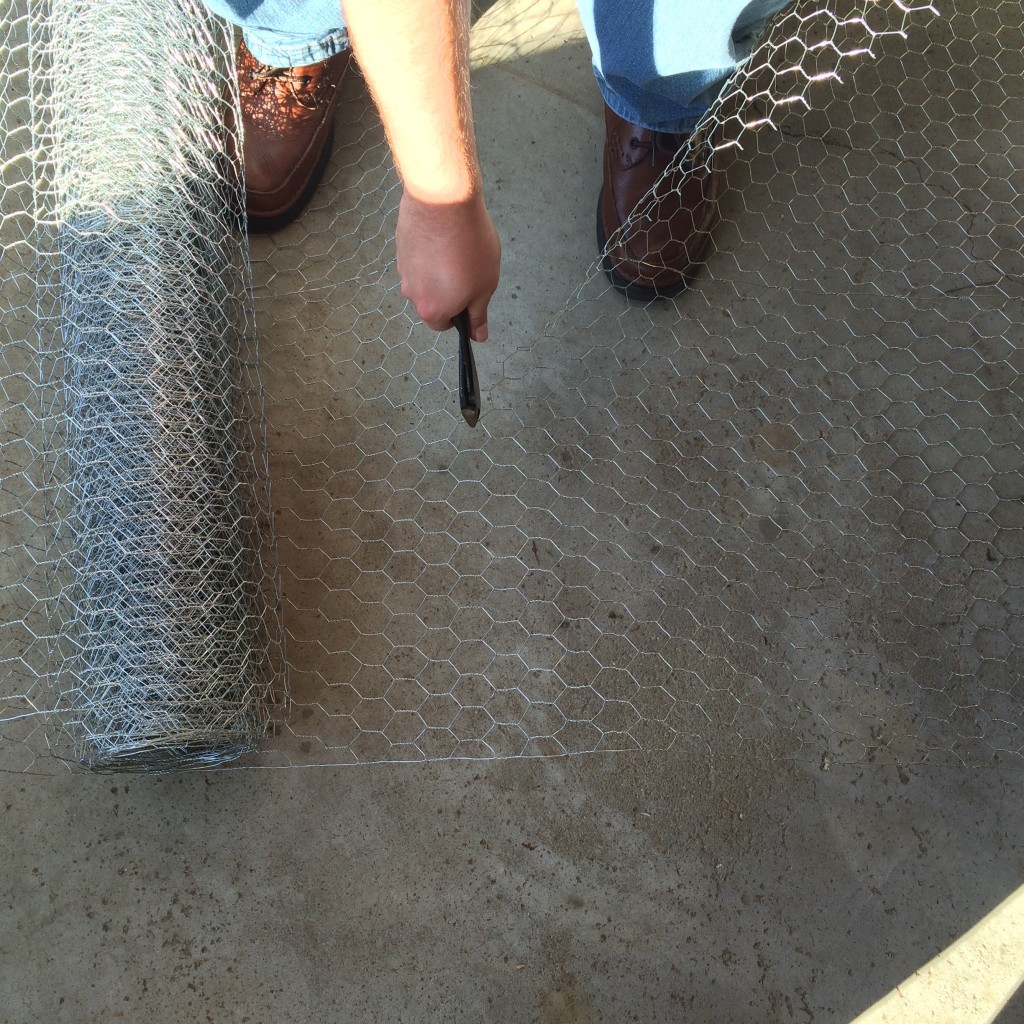
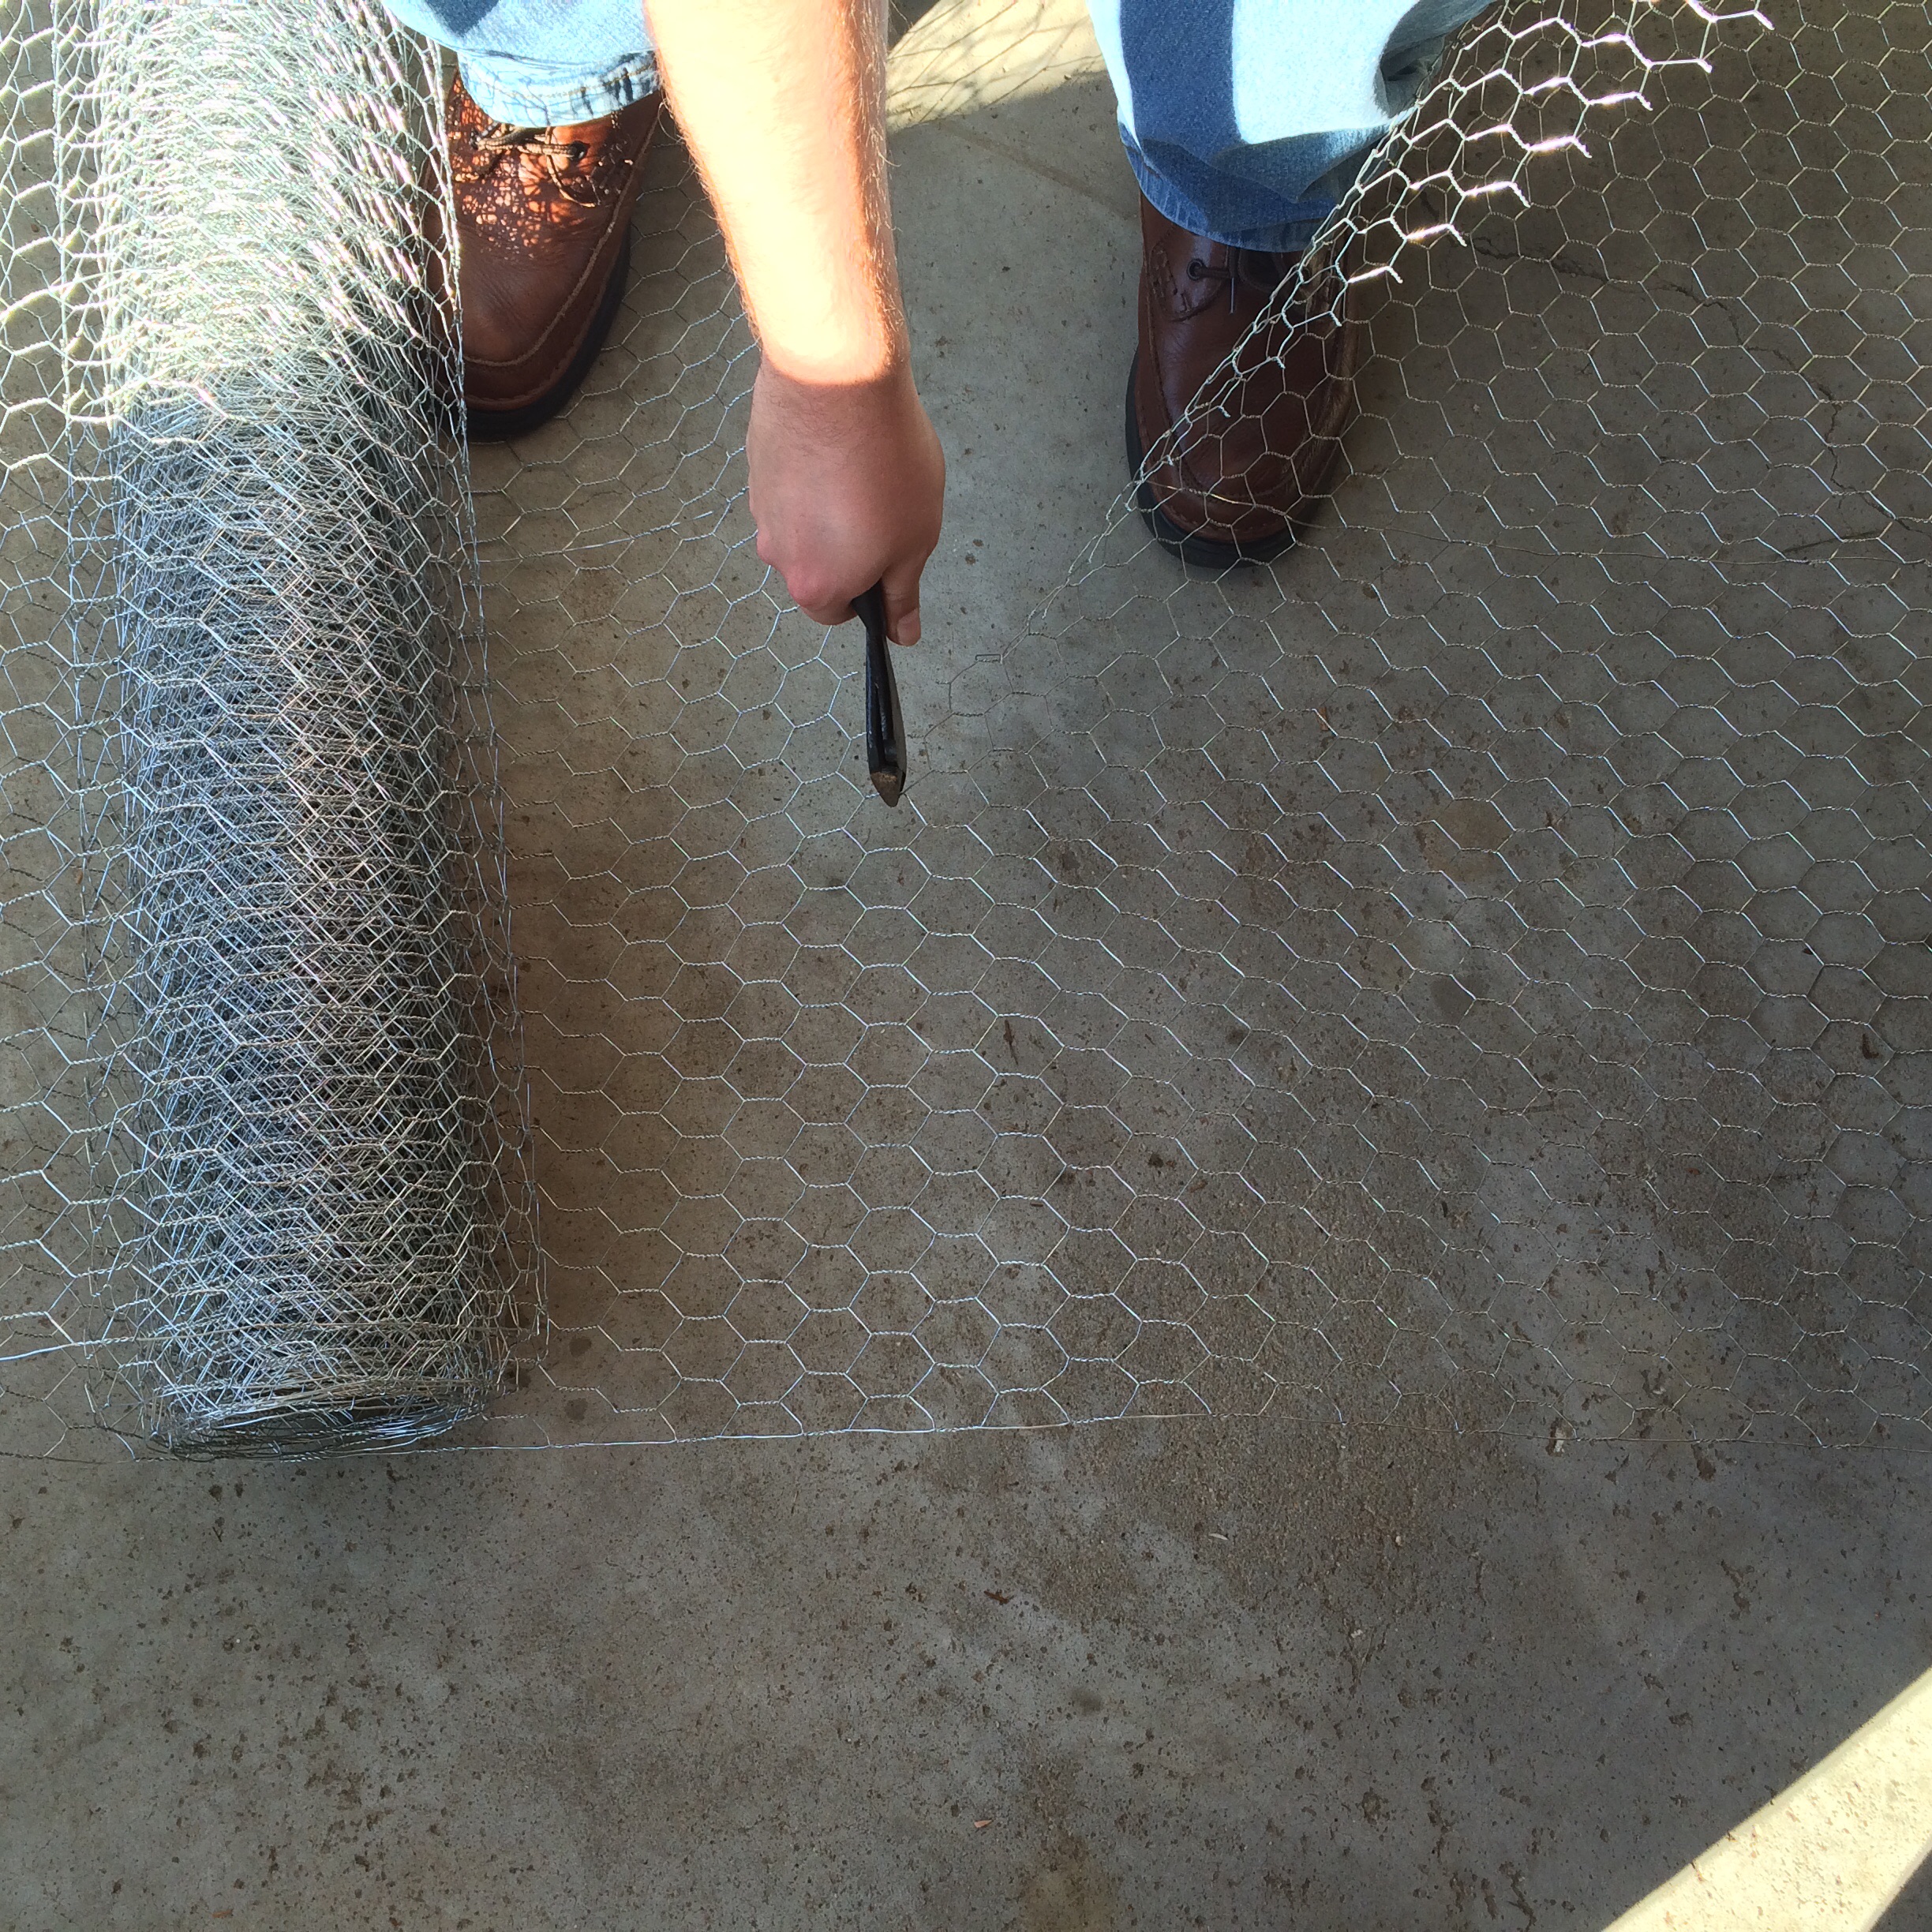
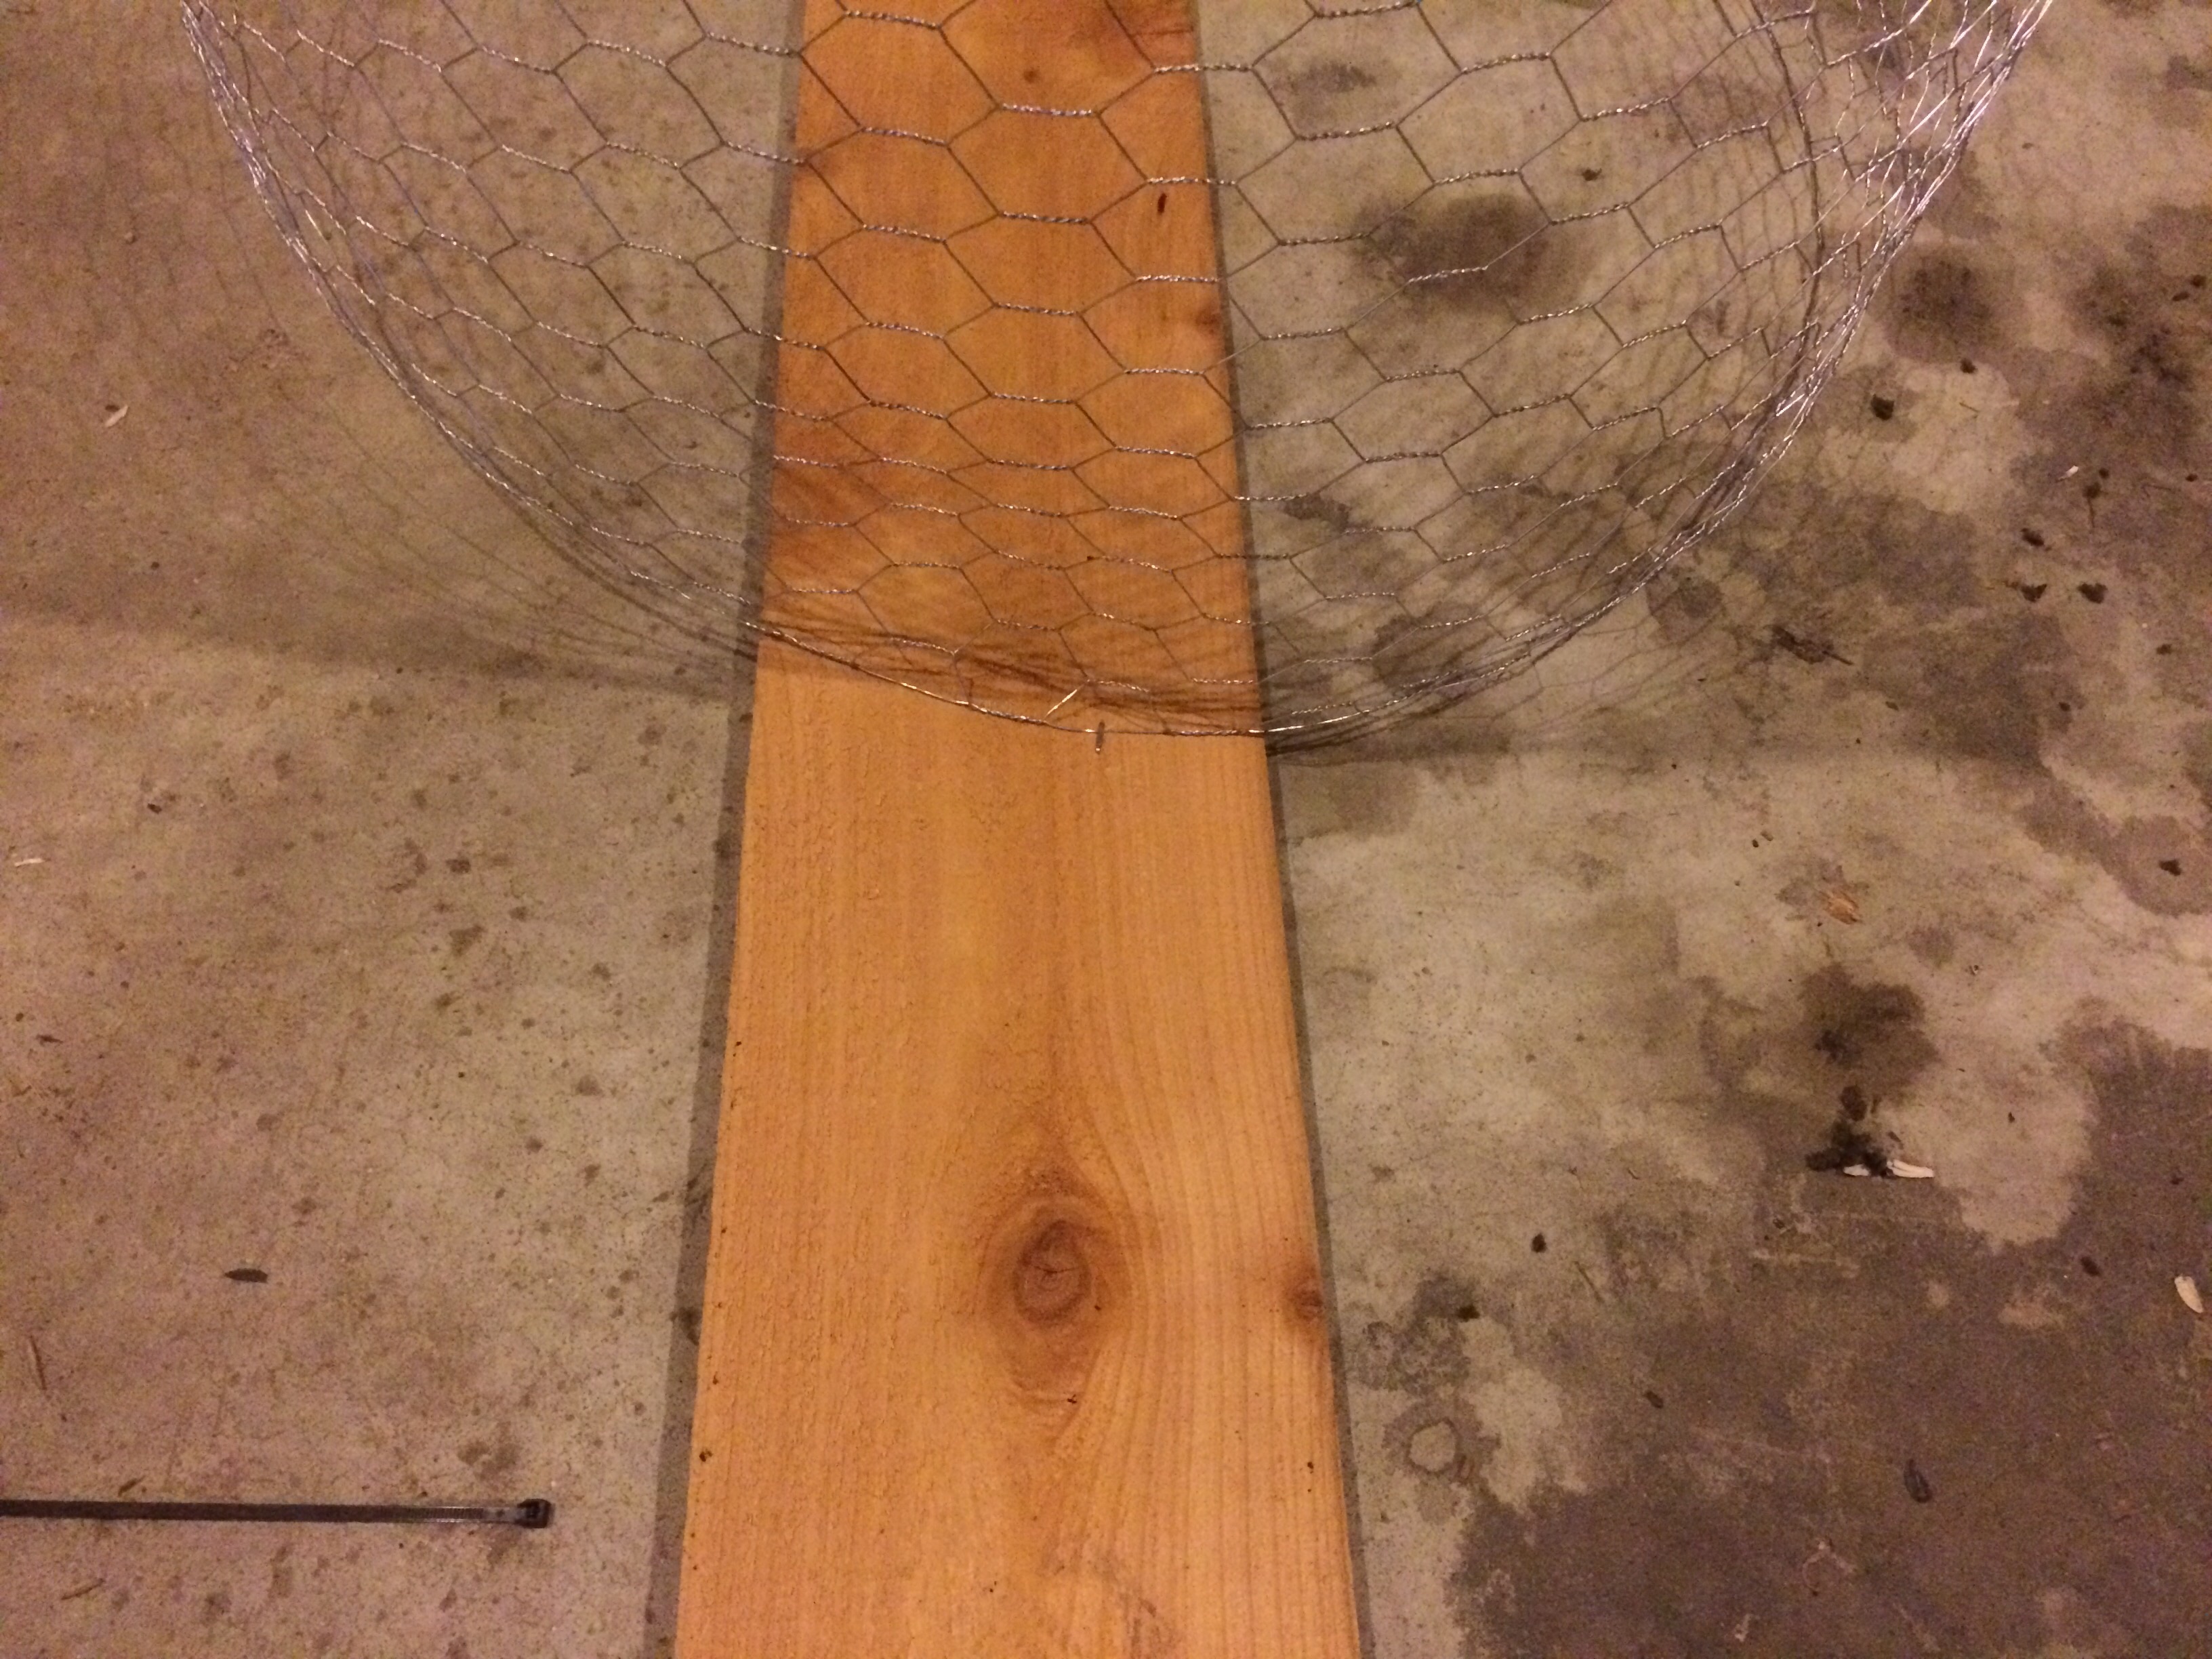
- First, roll out the chicken wire and use wire cutters to cut off the folded triangular piece at the end. Then, cut two more sections at about 6’ long.
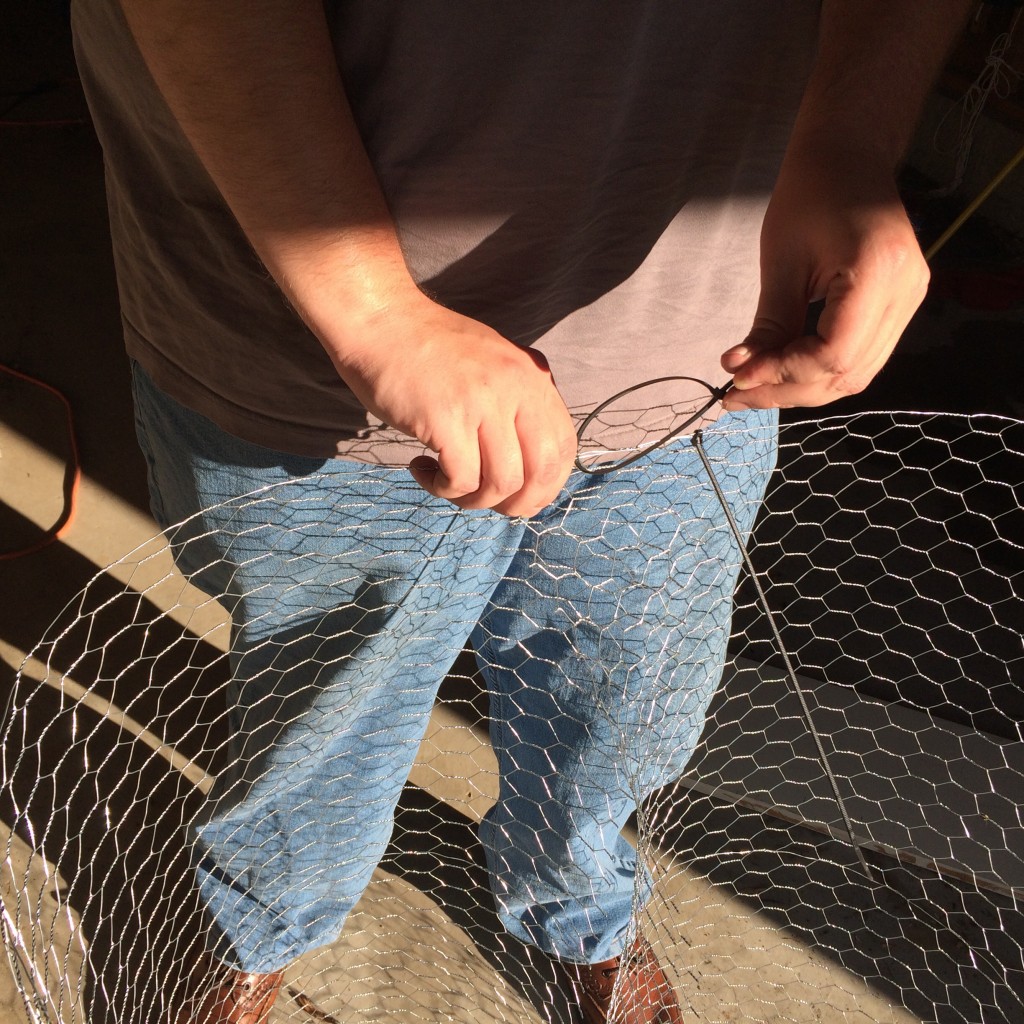
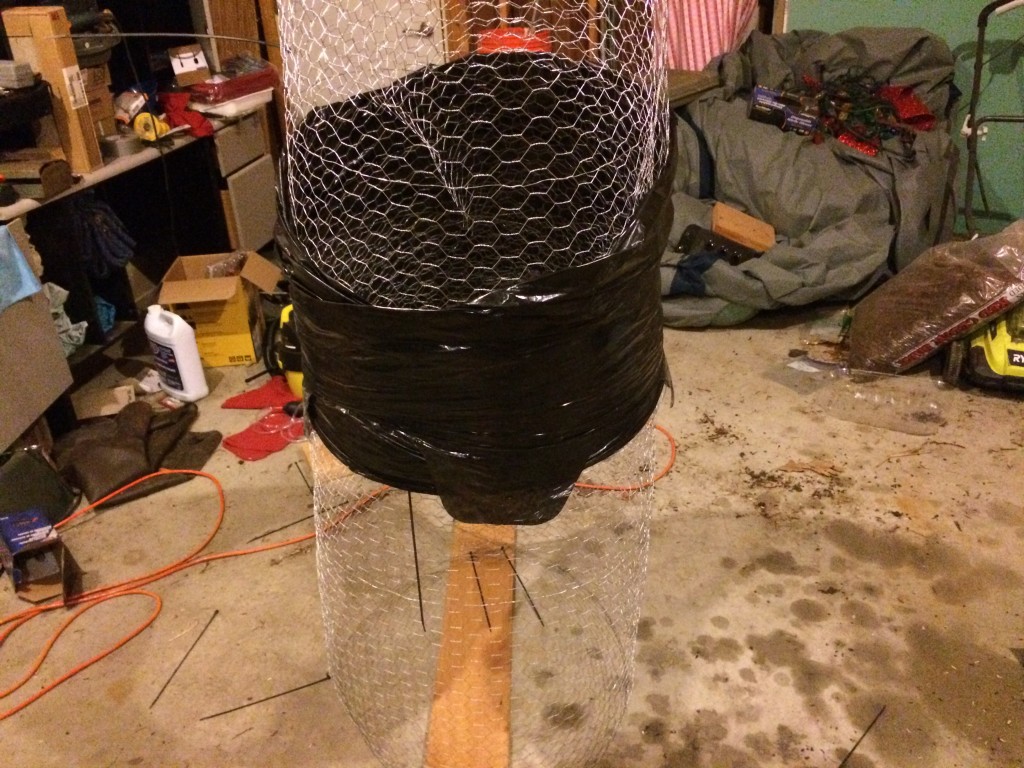
- Select one 6’ section of chicken wire and roll it into a cylindar about 2’ in diameter at the bottom and secure the bottom with a zip-tie. Next, layer the top ends of the chickenwire together so that the top of the cylinder is slightly narrower than the bottom, and secure the top and middle of the cylinder with zip-ties.
- Secure the base of the reaper. You can do this by either pinning the base into the ground with the U-pins, or by stapling it to a spare 2×8” board if you do not want to move it outside right away.

- Next, roll the second 6’ section into a conical shape, with an opening about 1’ in diameter at the top and zip tie to hold in place. Zip tie this on top of the chicken wire cylinder.
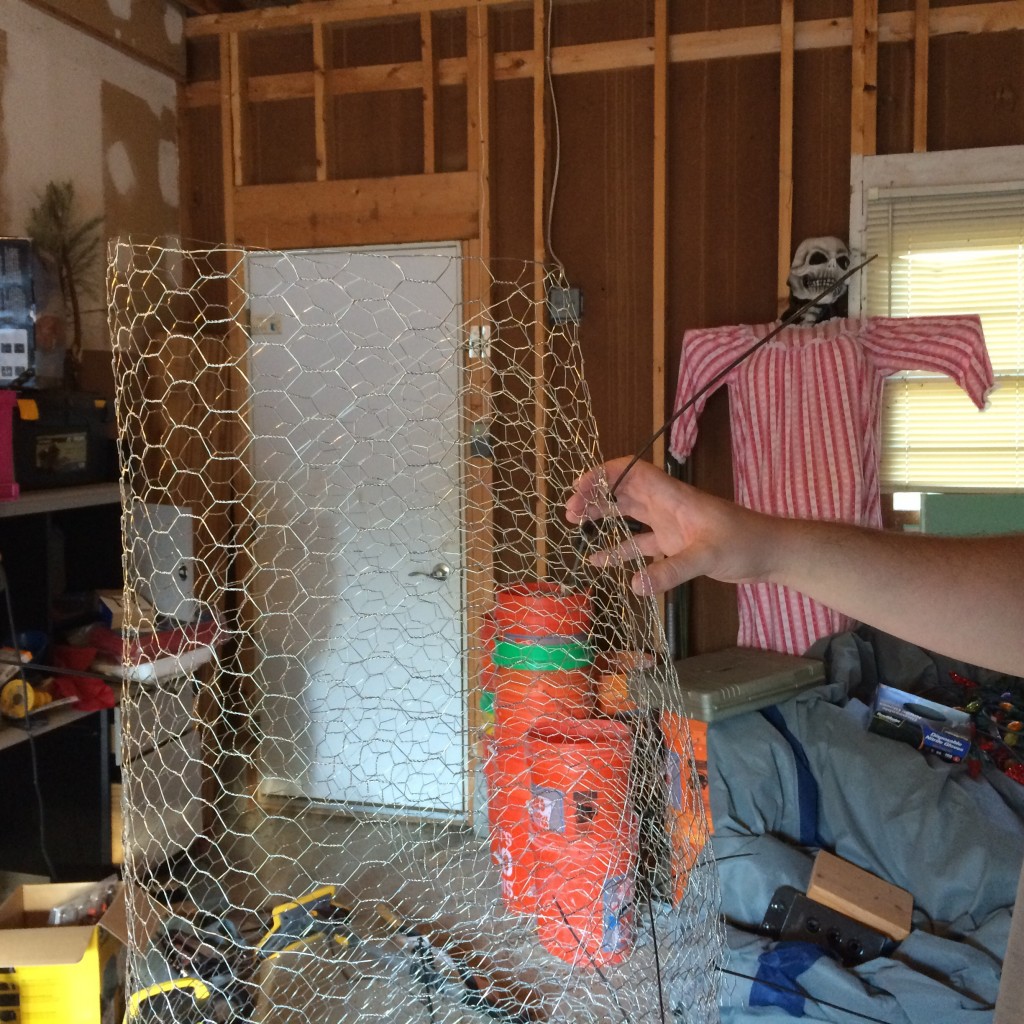
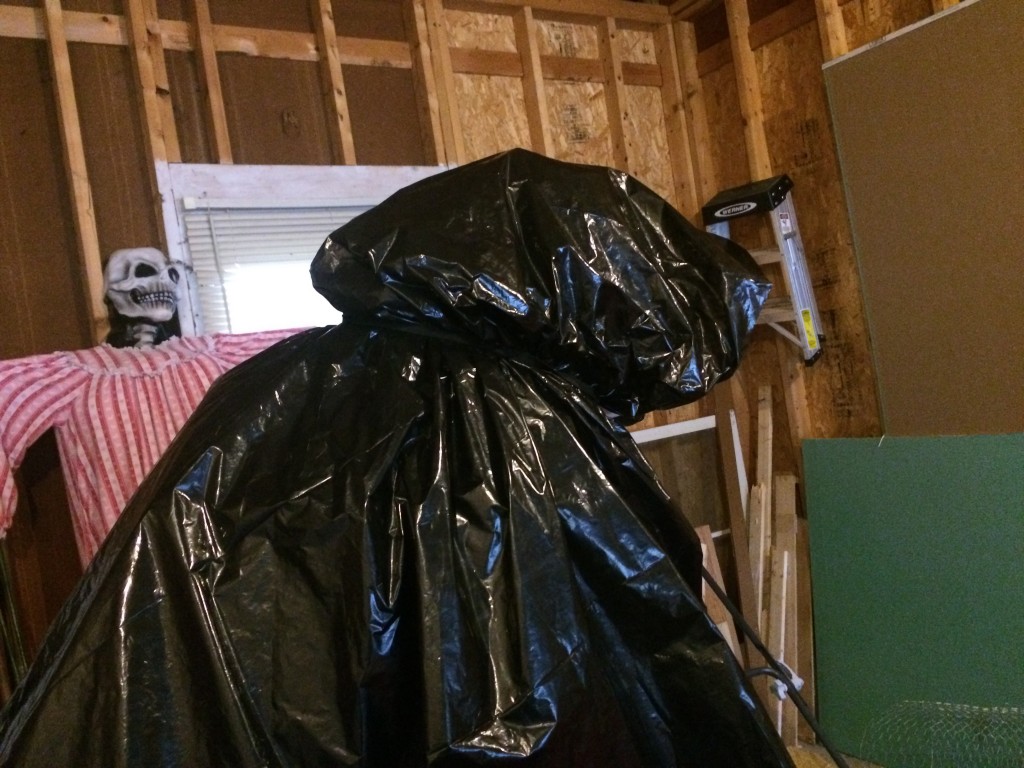
- Form the triangular piece into a cone to make the head and zip tie this to the top of the figure. When structure is finished, it will lean forward.
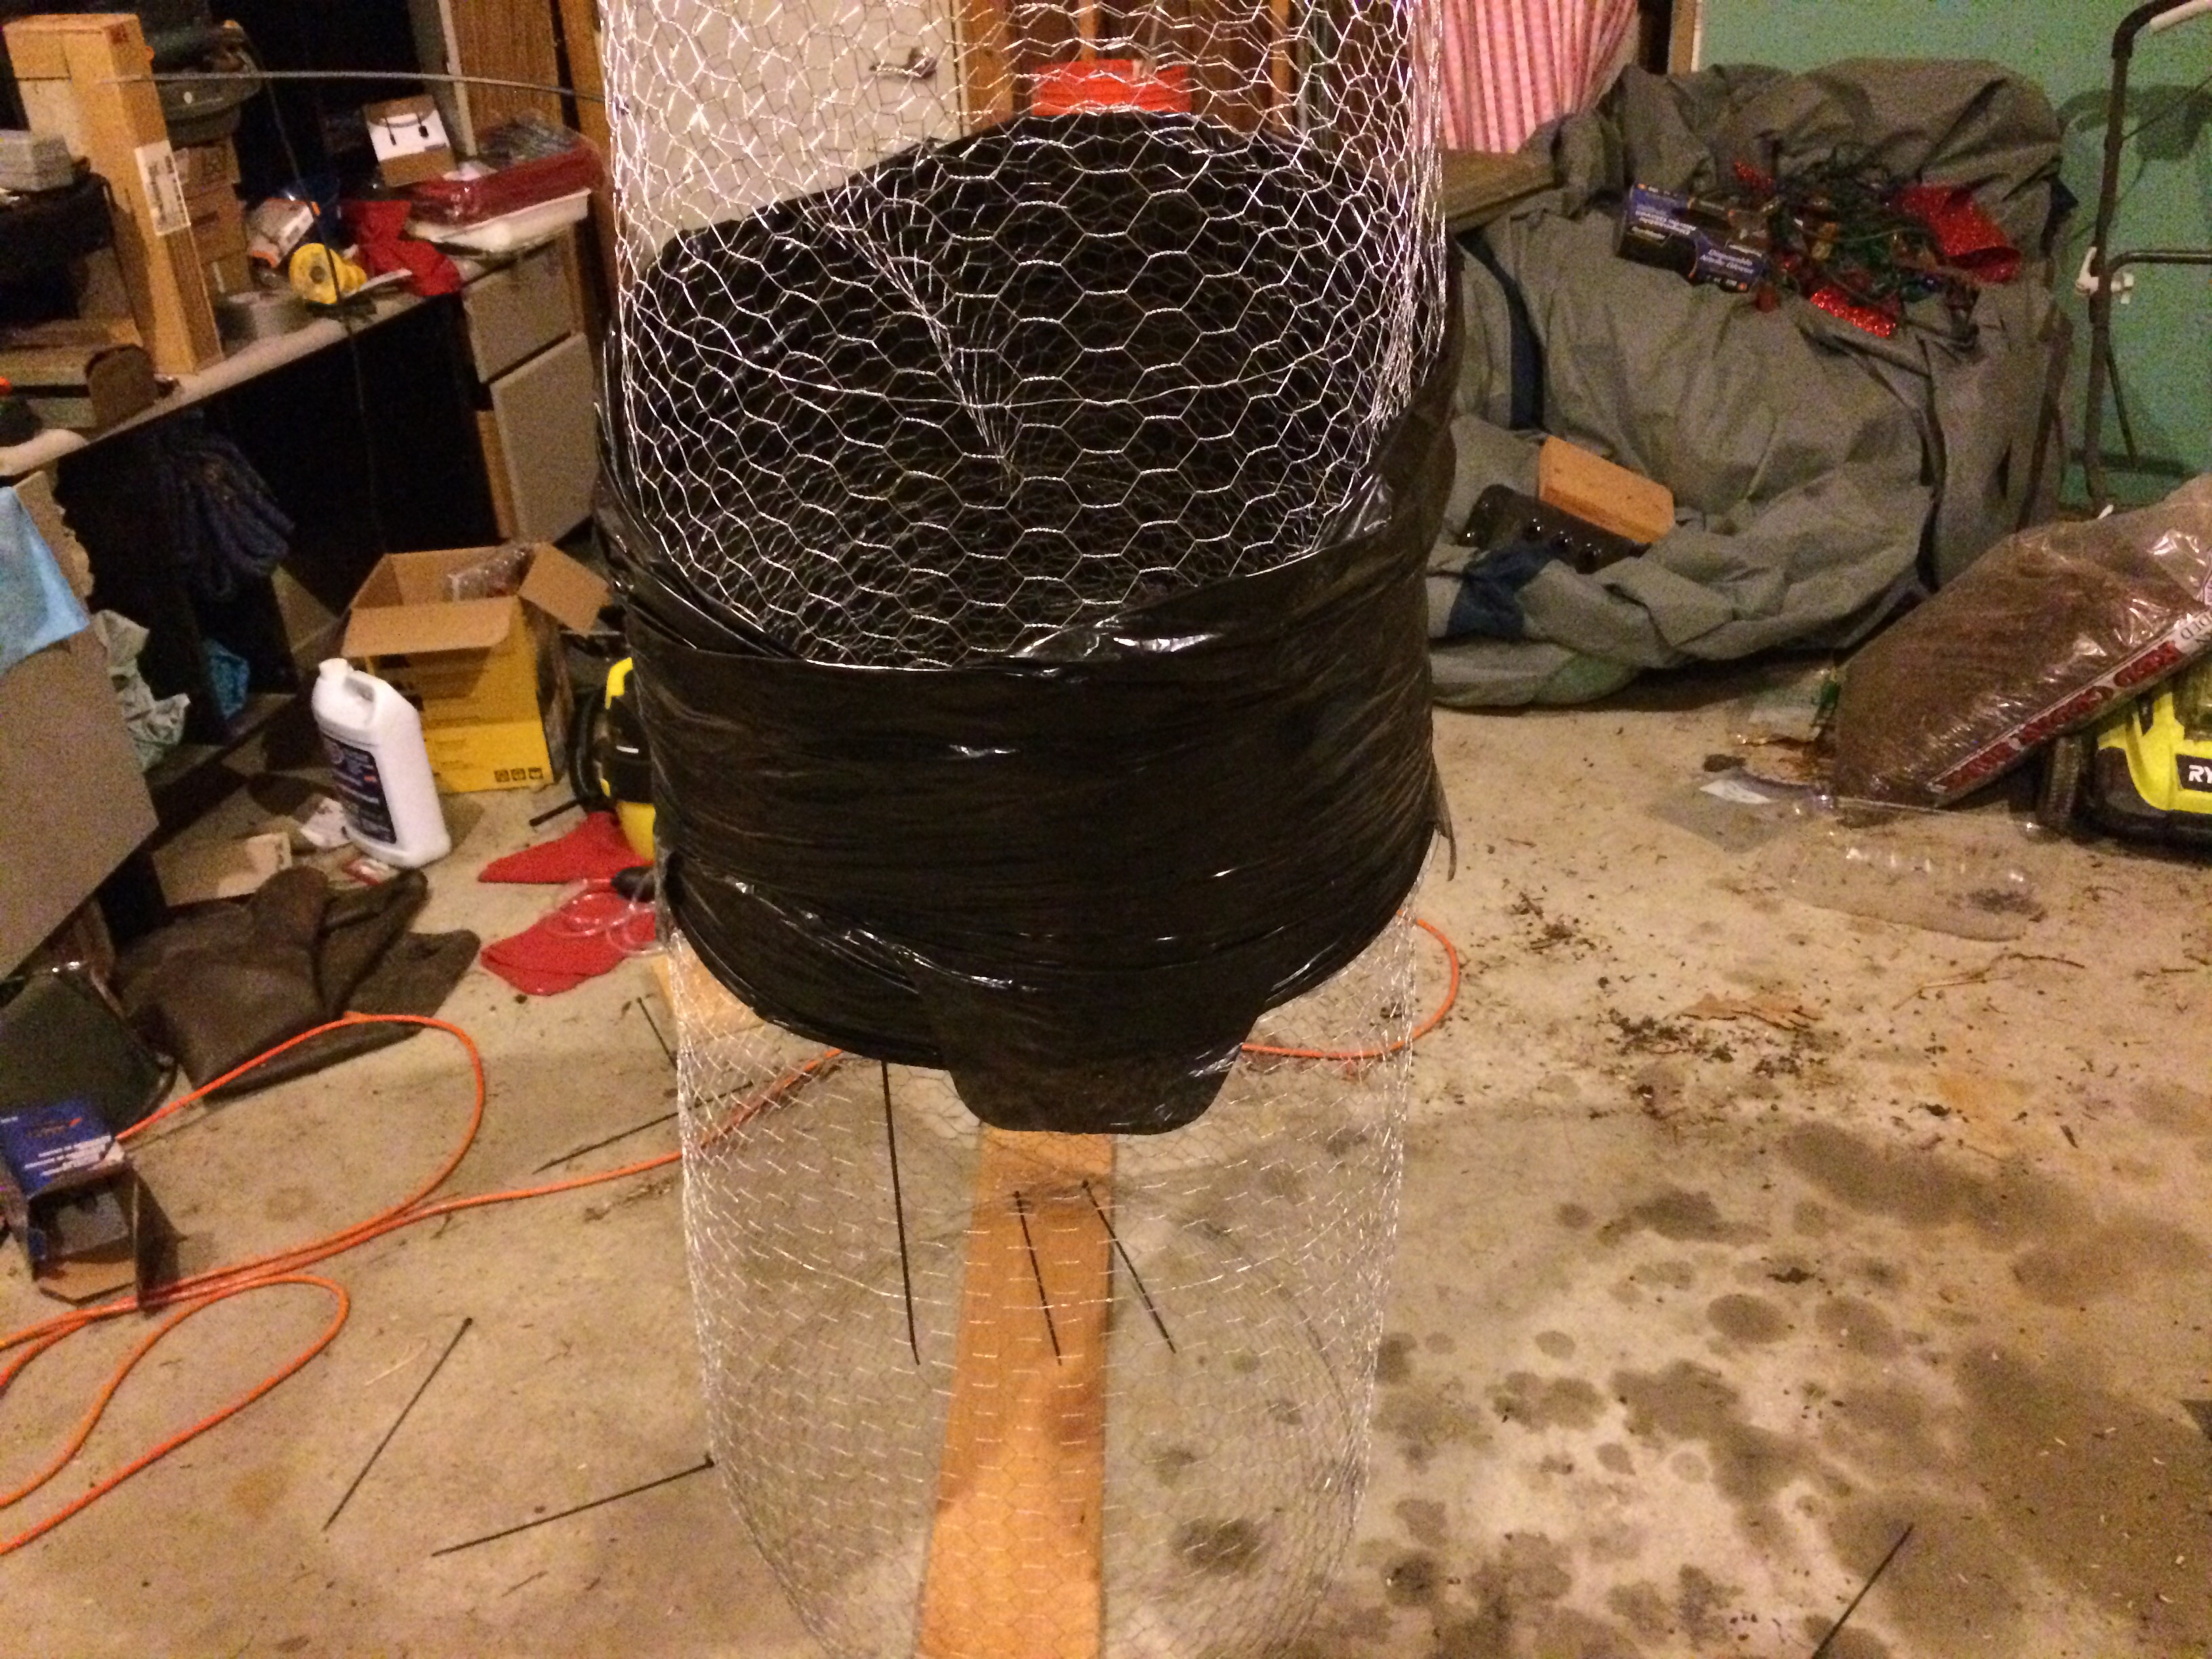
- Cut the bottom out of a black garbage bag and shimmy it down the figure until it binds across the place where the two 6’ sections meet (the garbage bag will probably be too small to go any lower). This will help provide support for the structure.
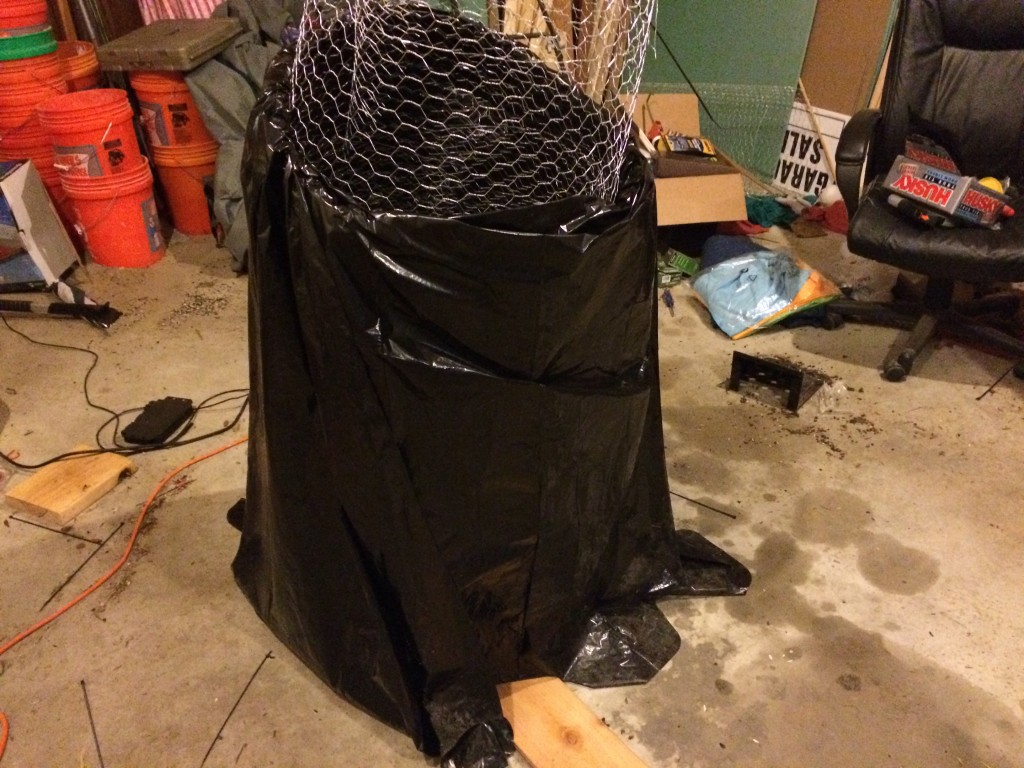
- Take 4 more garbage bags and tuck them into the top of the garbage bag around the middle of the figure to make a skirt.
- Secure the skirt in place by tying it with three rows of black elastic.
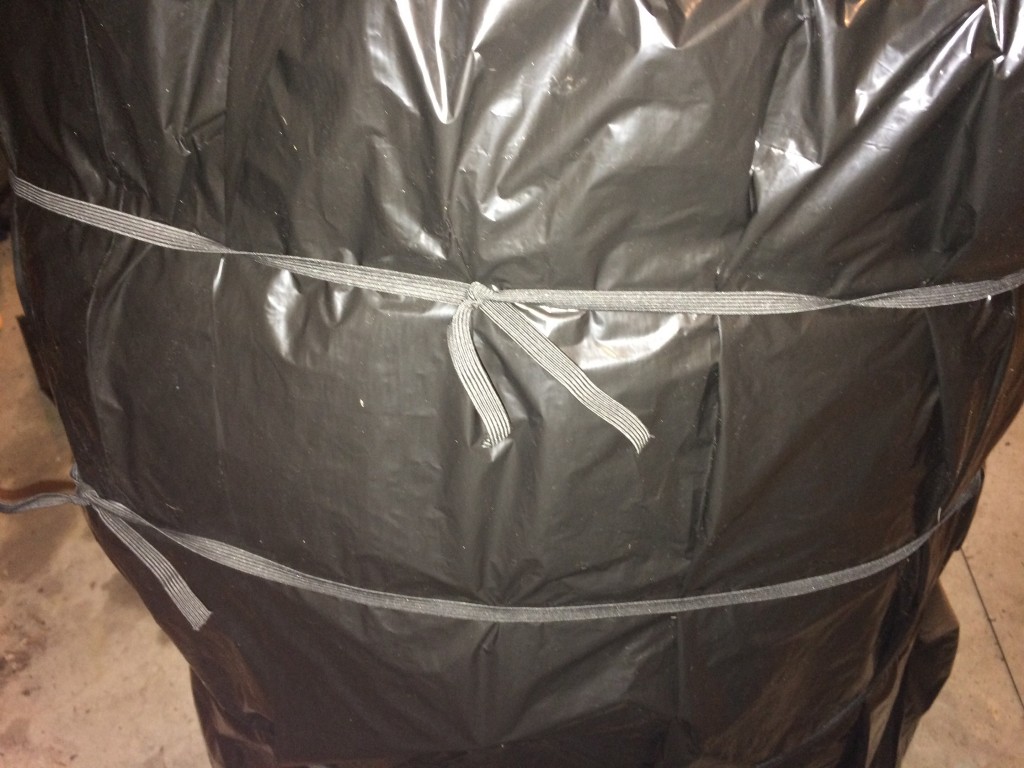
- Bring another garbage bag down over the conical “head”. Secure in place across the “chest” with three bands of elastic.
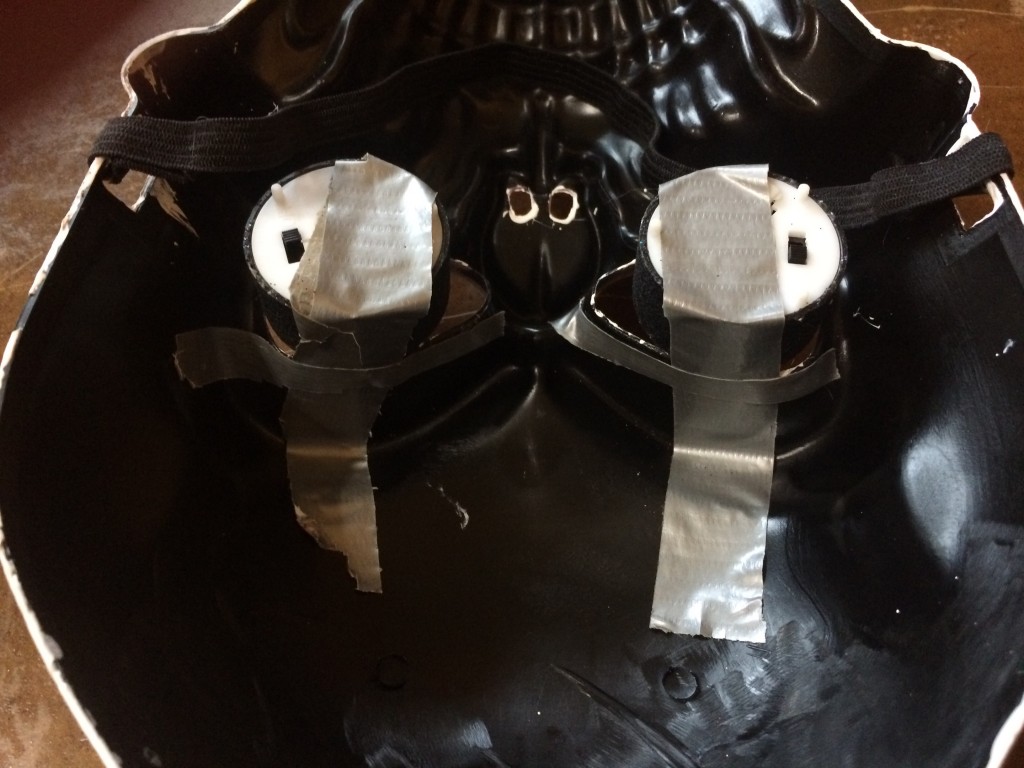
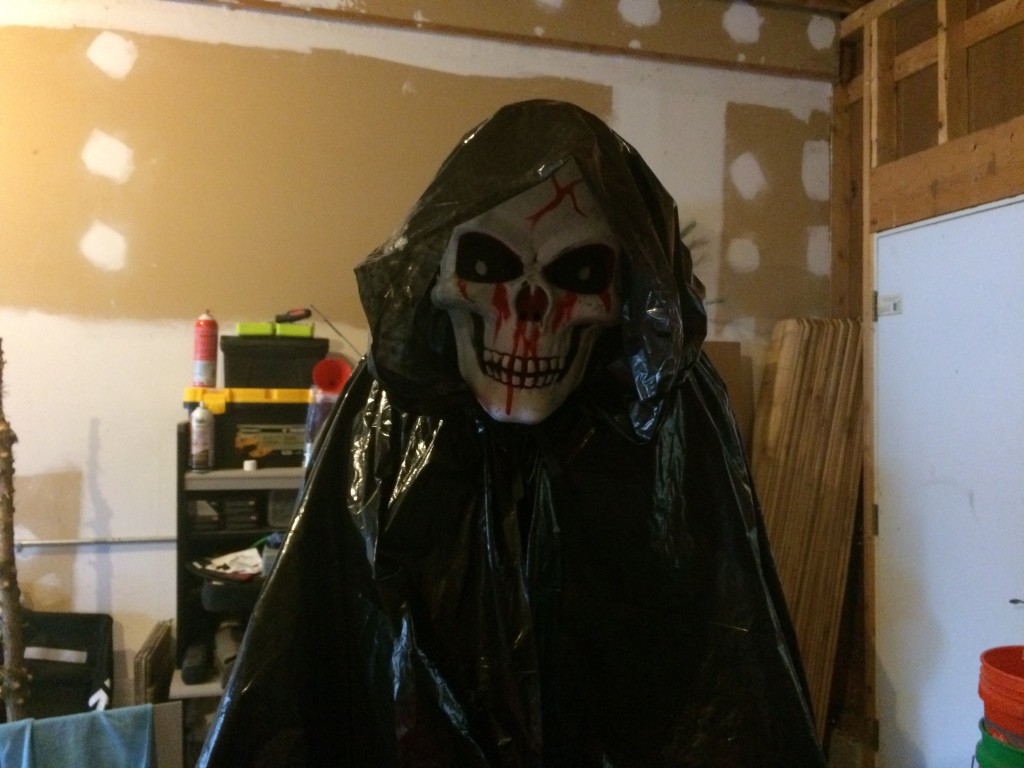
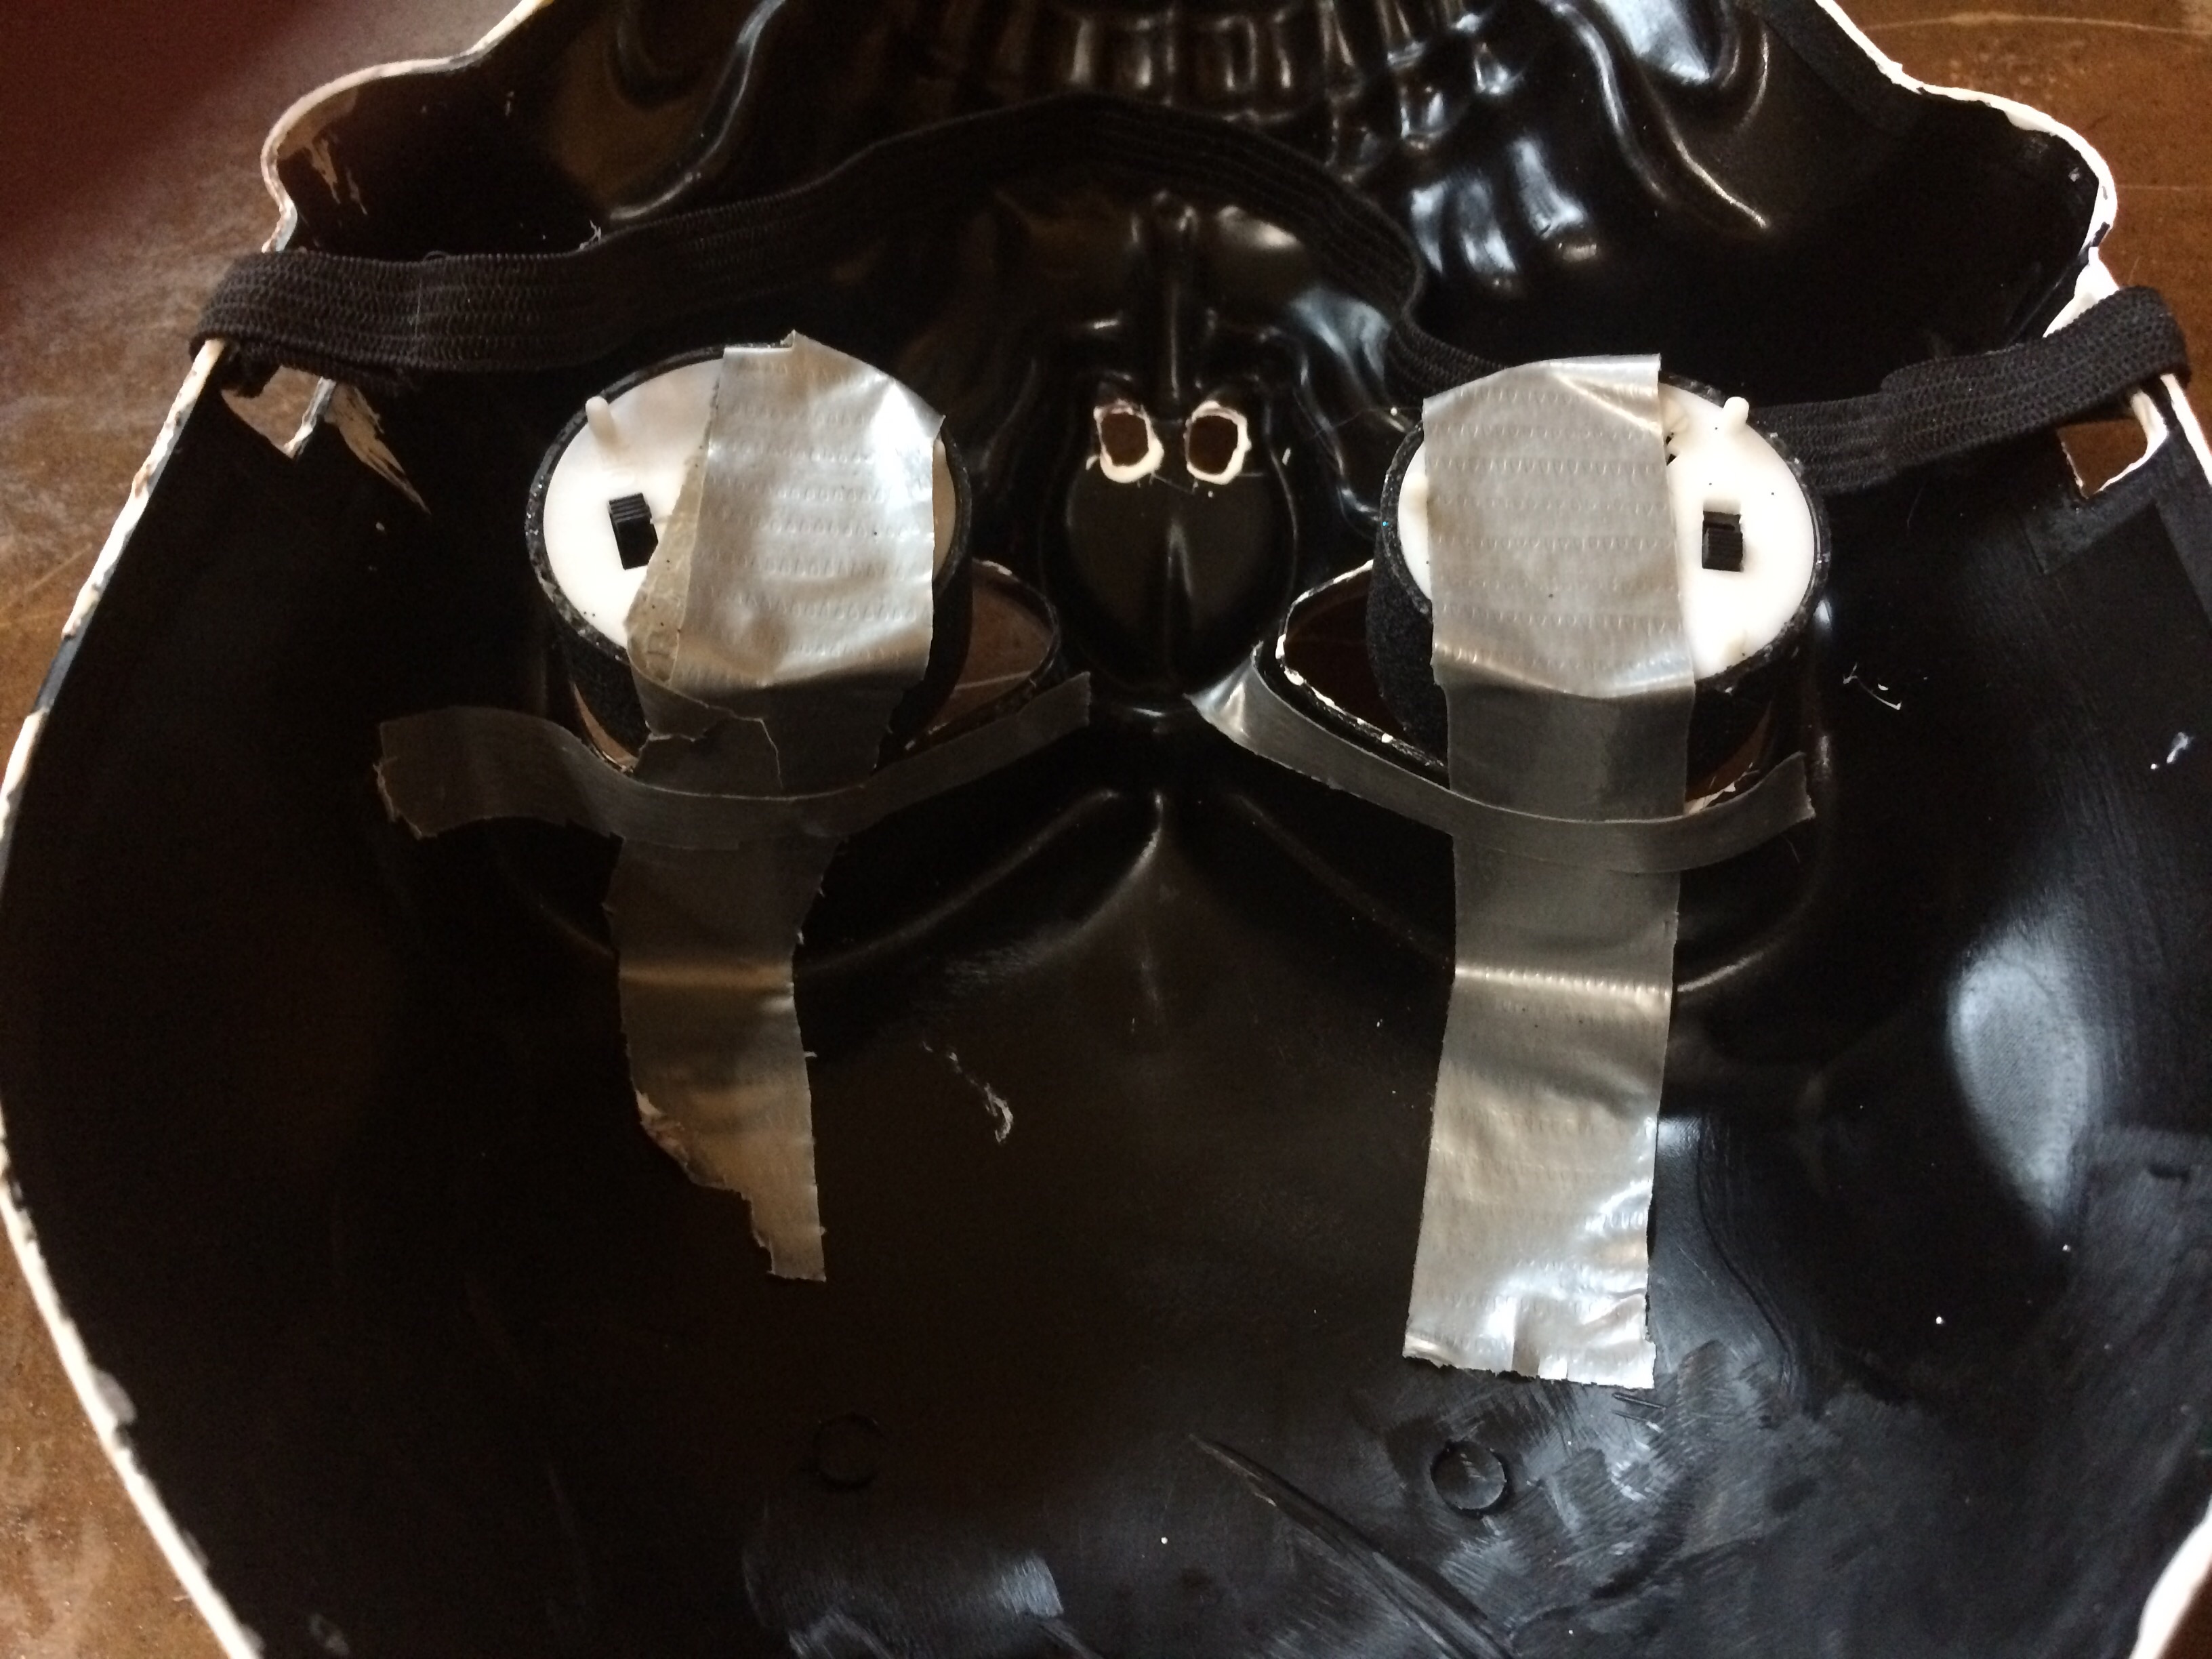
- Next, duct tape two tea lights inside the eyes of the mask so that the flames point upward. Make sure you can still turn the lights on and off.
- Place the mask on top of the cone. If the mask has elastic backing, pull any extra garbage bag at the top of the cone through the elastic.

- Cut another garbage bag so that it can be unfolded and arrange it as a hood. Tie in place with elastic to secure.
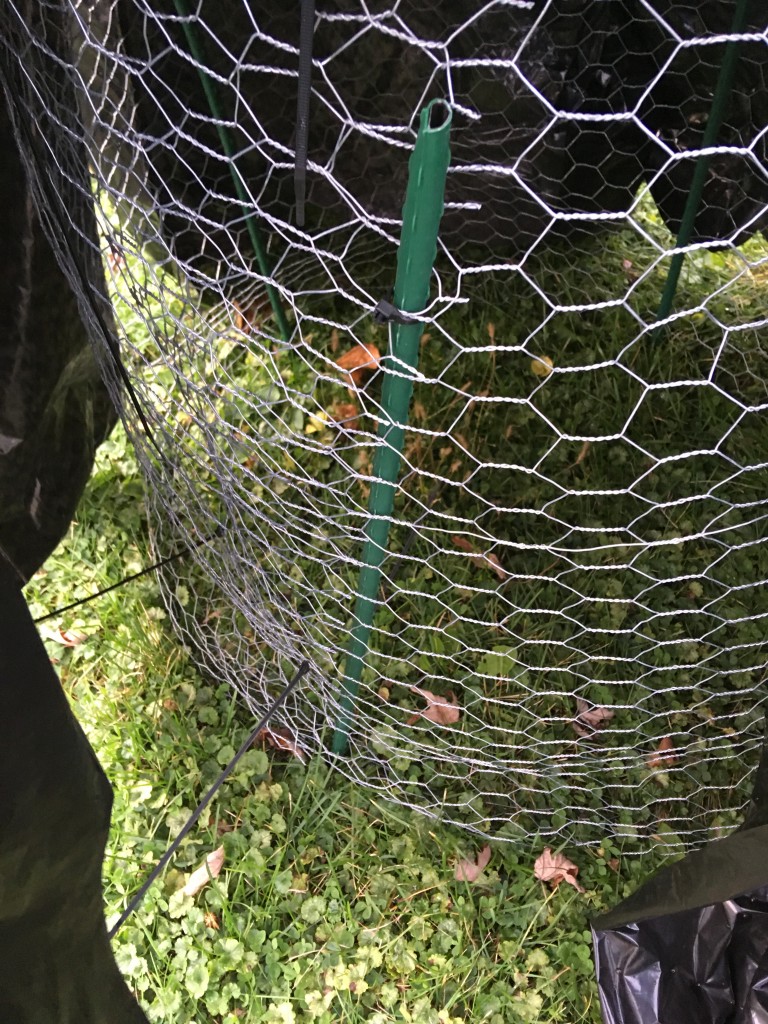
- If you used a wooden plank to secure your reaper while building it, unstaple it from the board and use U-pins to pin the bottom of the chicken wire into the ground. To further secure your reaper against high October winds, insert 4 garden stakes into the ground under the reaper’s chicken-wire skirt and secure to the chicken wire with zip-ties.


Happy Halloween!
Posted October 27th, 2017 by Admin

Very spooky.