 share on pinterest
A major part of owning your first house is getting to choose the colors for every room. To avoid making a mess of your house in the process, here is our simple guide:
- First, decide on a color. To do this, you can go to any hardware store and pick up a bunch of free paint swatches and tape them to your wall. You should be able to use these to narrow the decision down to about 3 shades.
- After you have selected your three favorite shades, get little sample-sized containers of each. Paint a swatch on your wall (in 2 coats) of each, so that you can see how each color looks in the rooms lighting and with the other colors in the house. We selected a brand of paint with the primer already built in, which saved us some time.
- Once you have decided on the exact shade, decide approximately how much paint you will need. We needed one gallon for our bathroom, two gallons for our bedroom, and three gallons for our bedroom, so the amount you will use will depend on the room size.
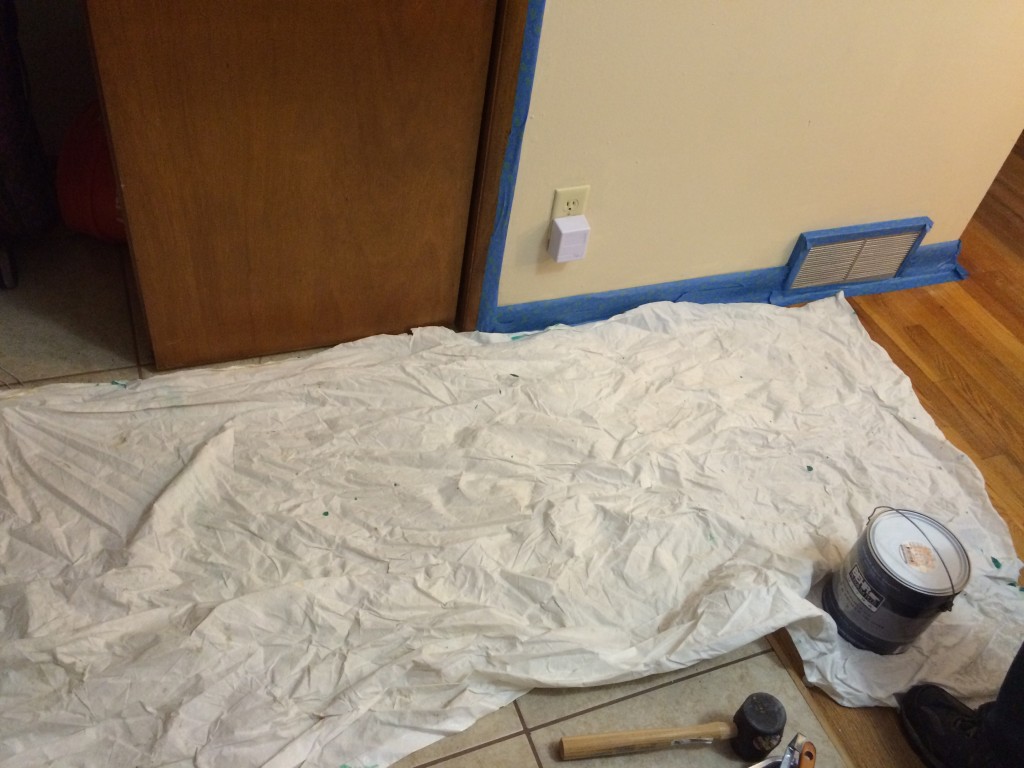
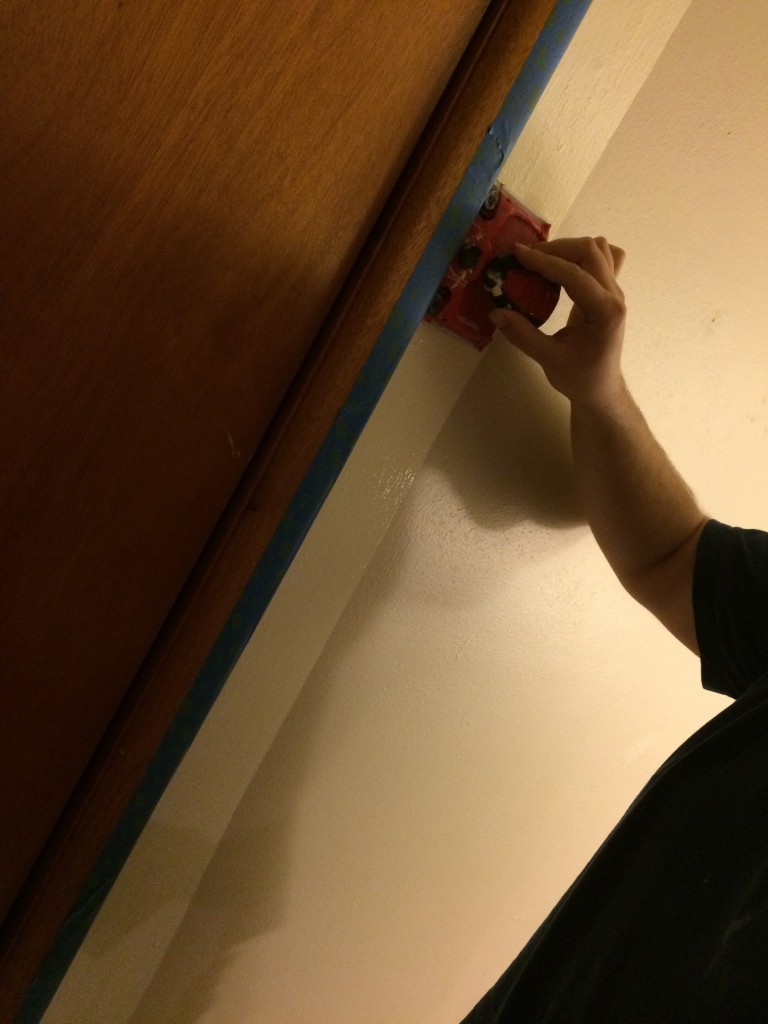
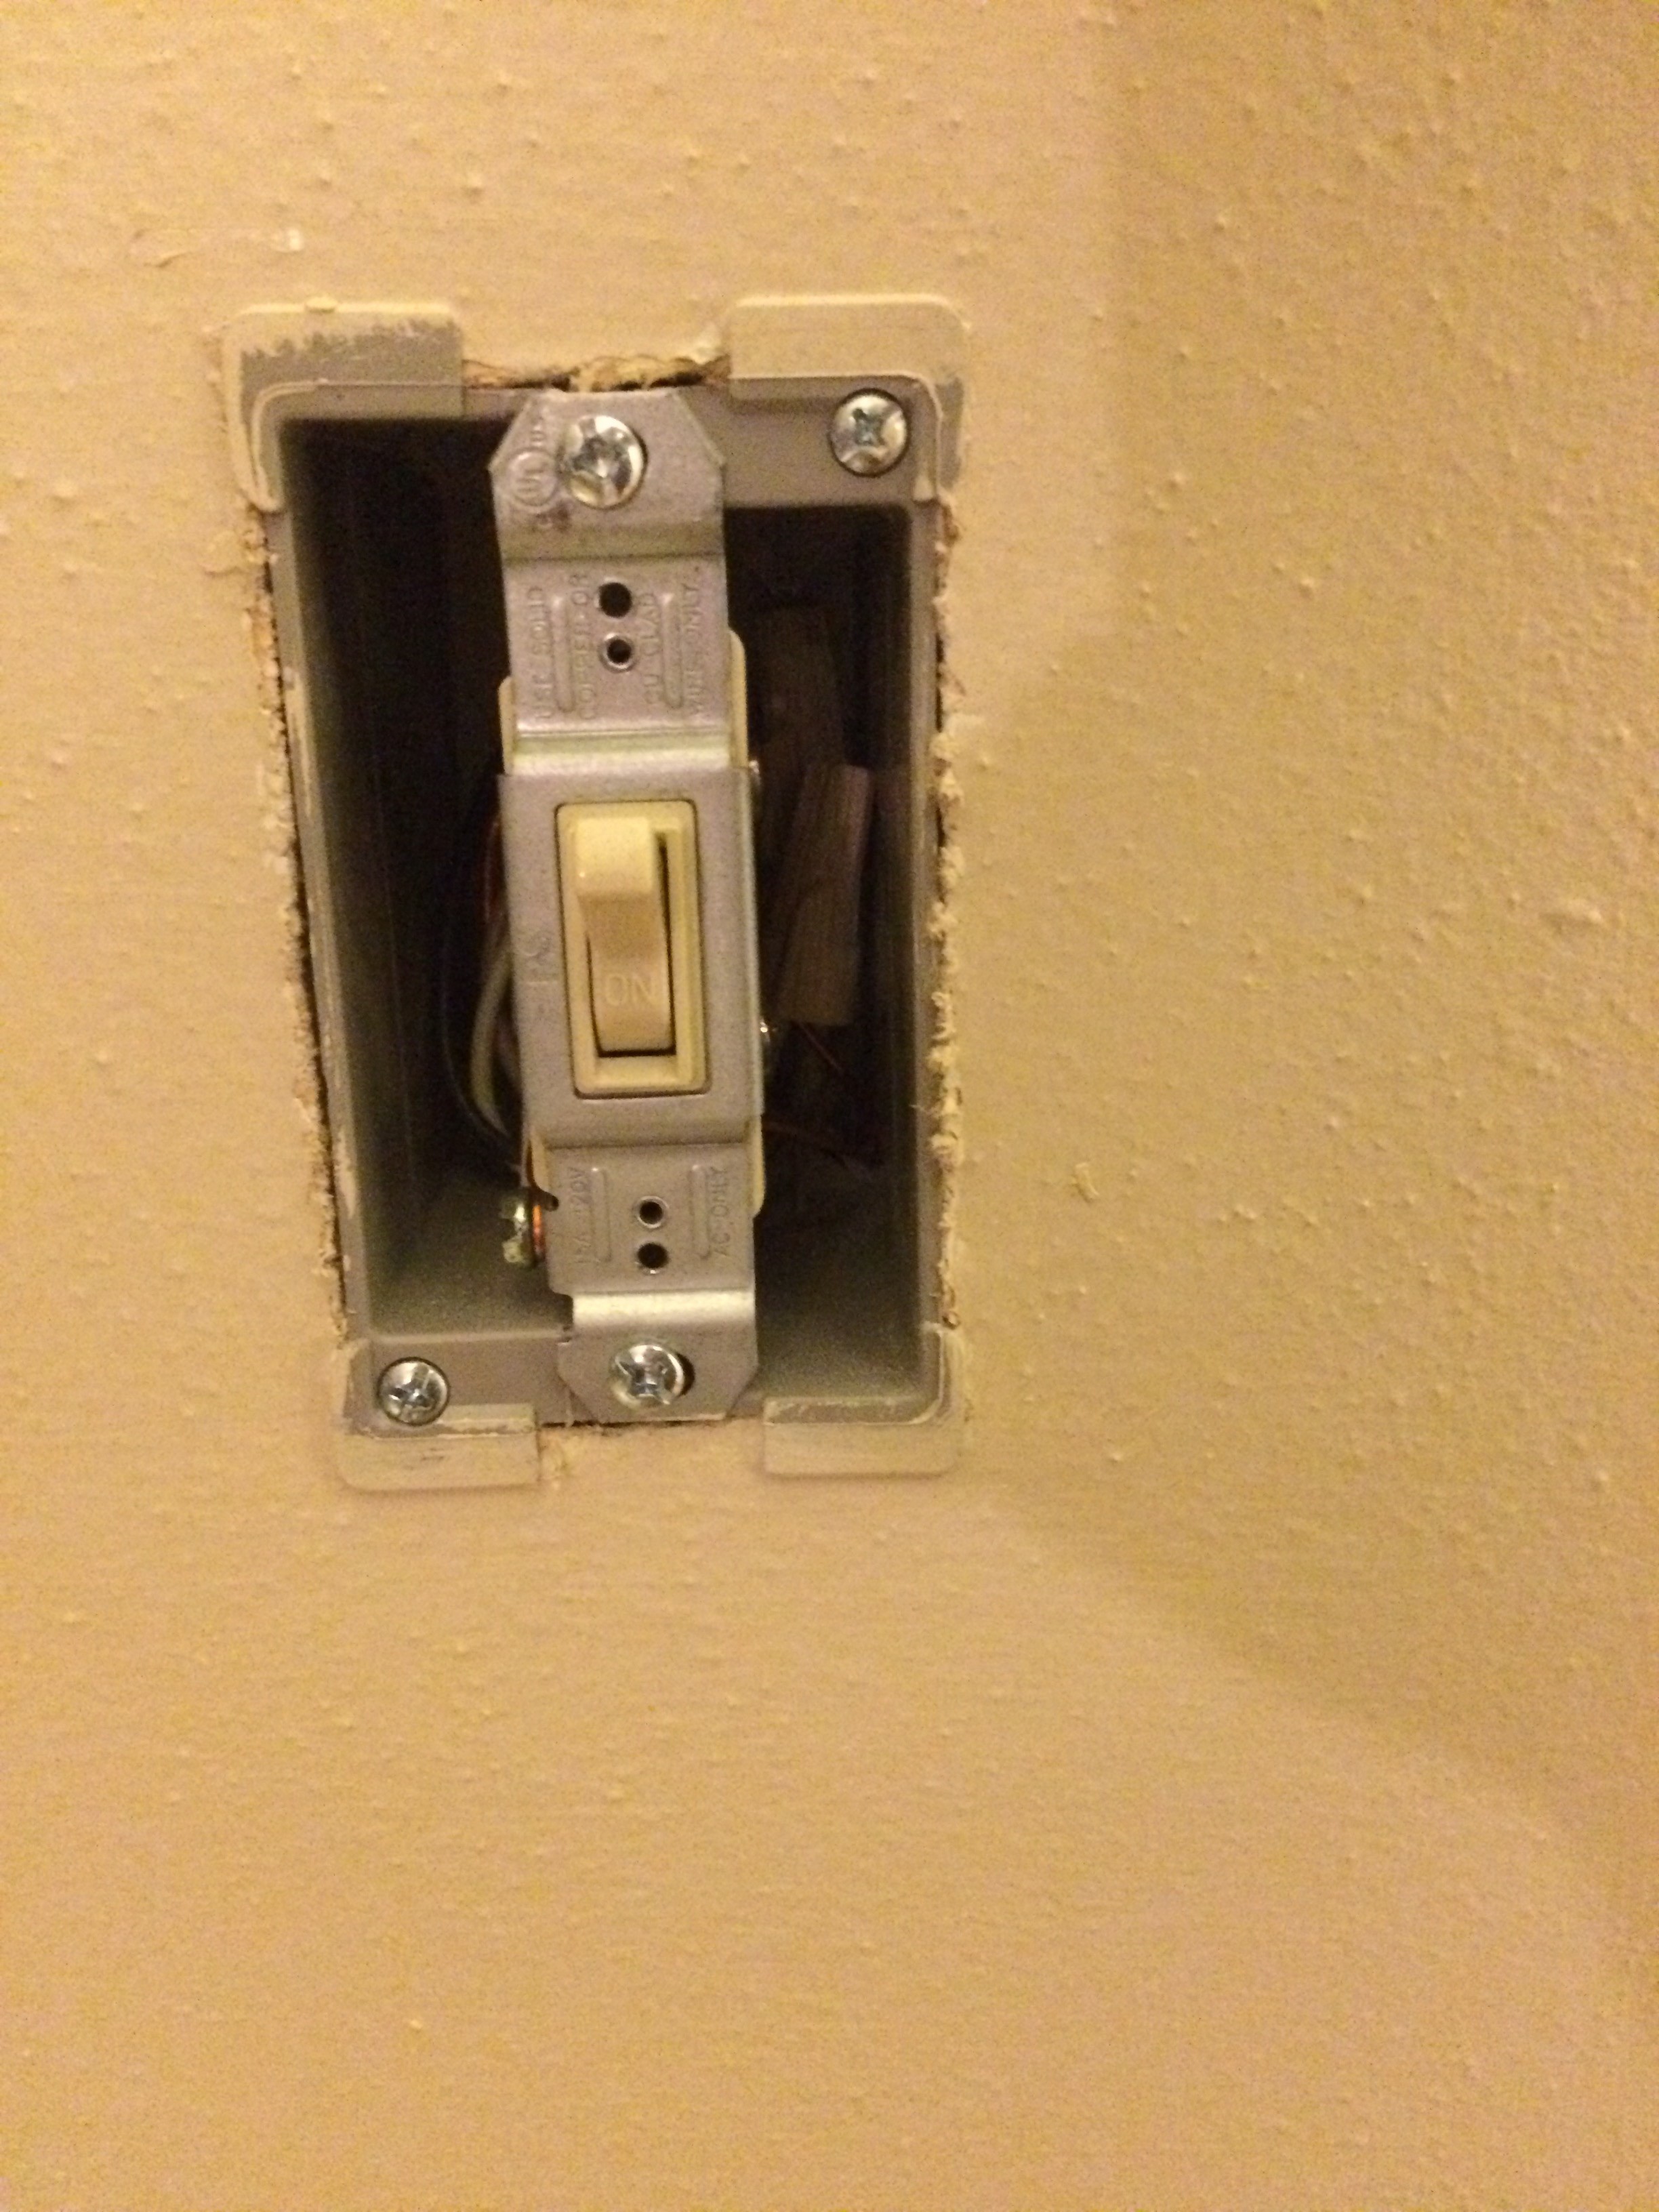
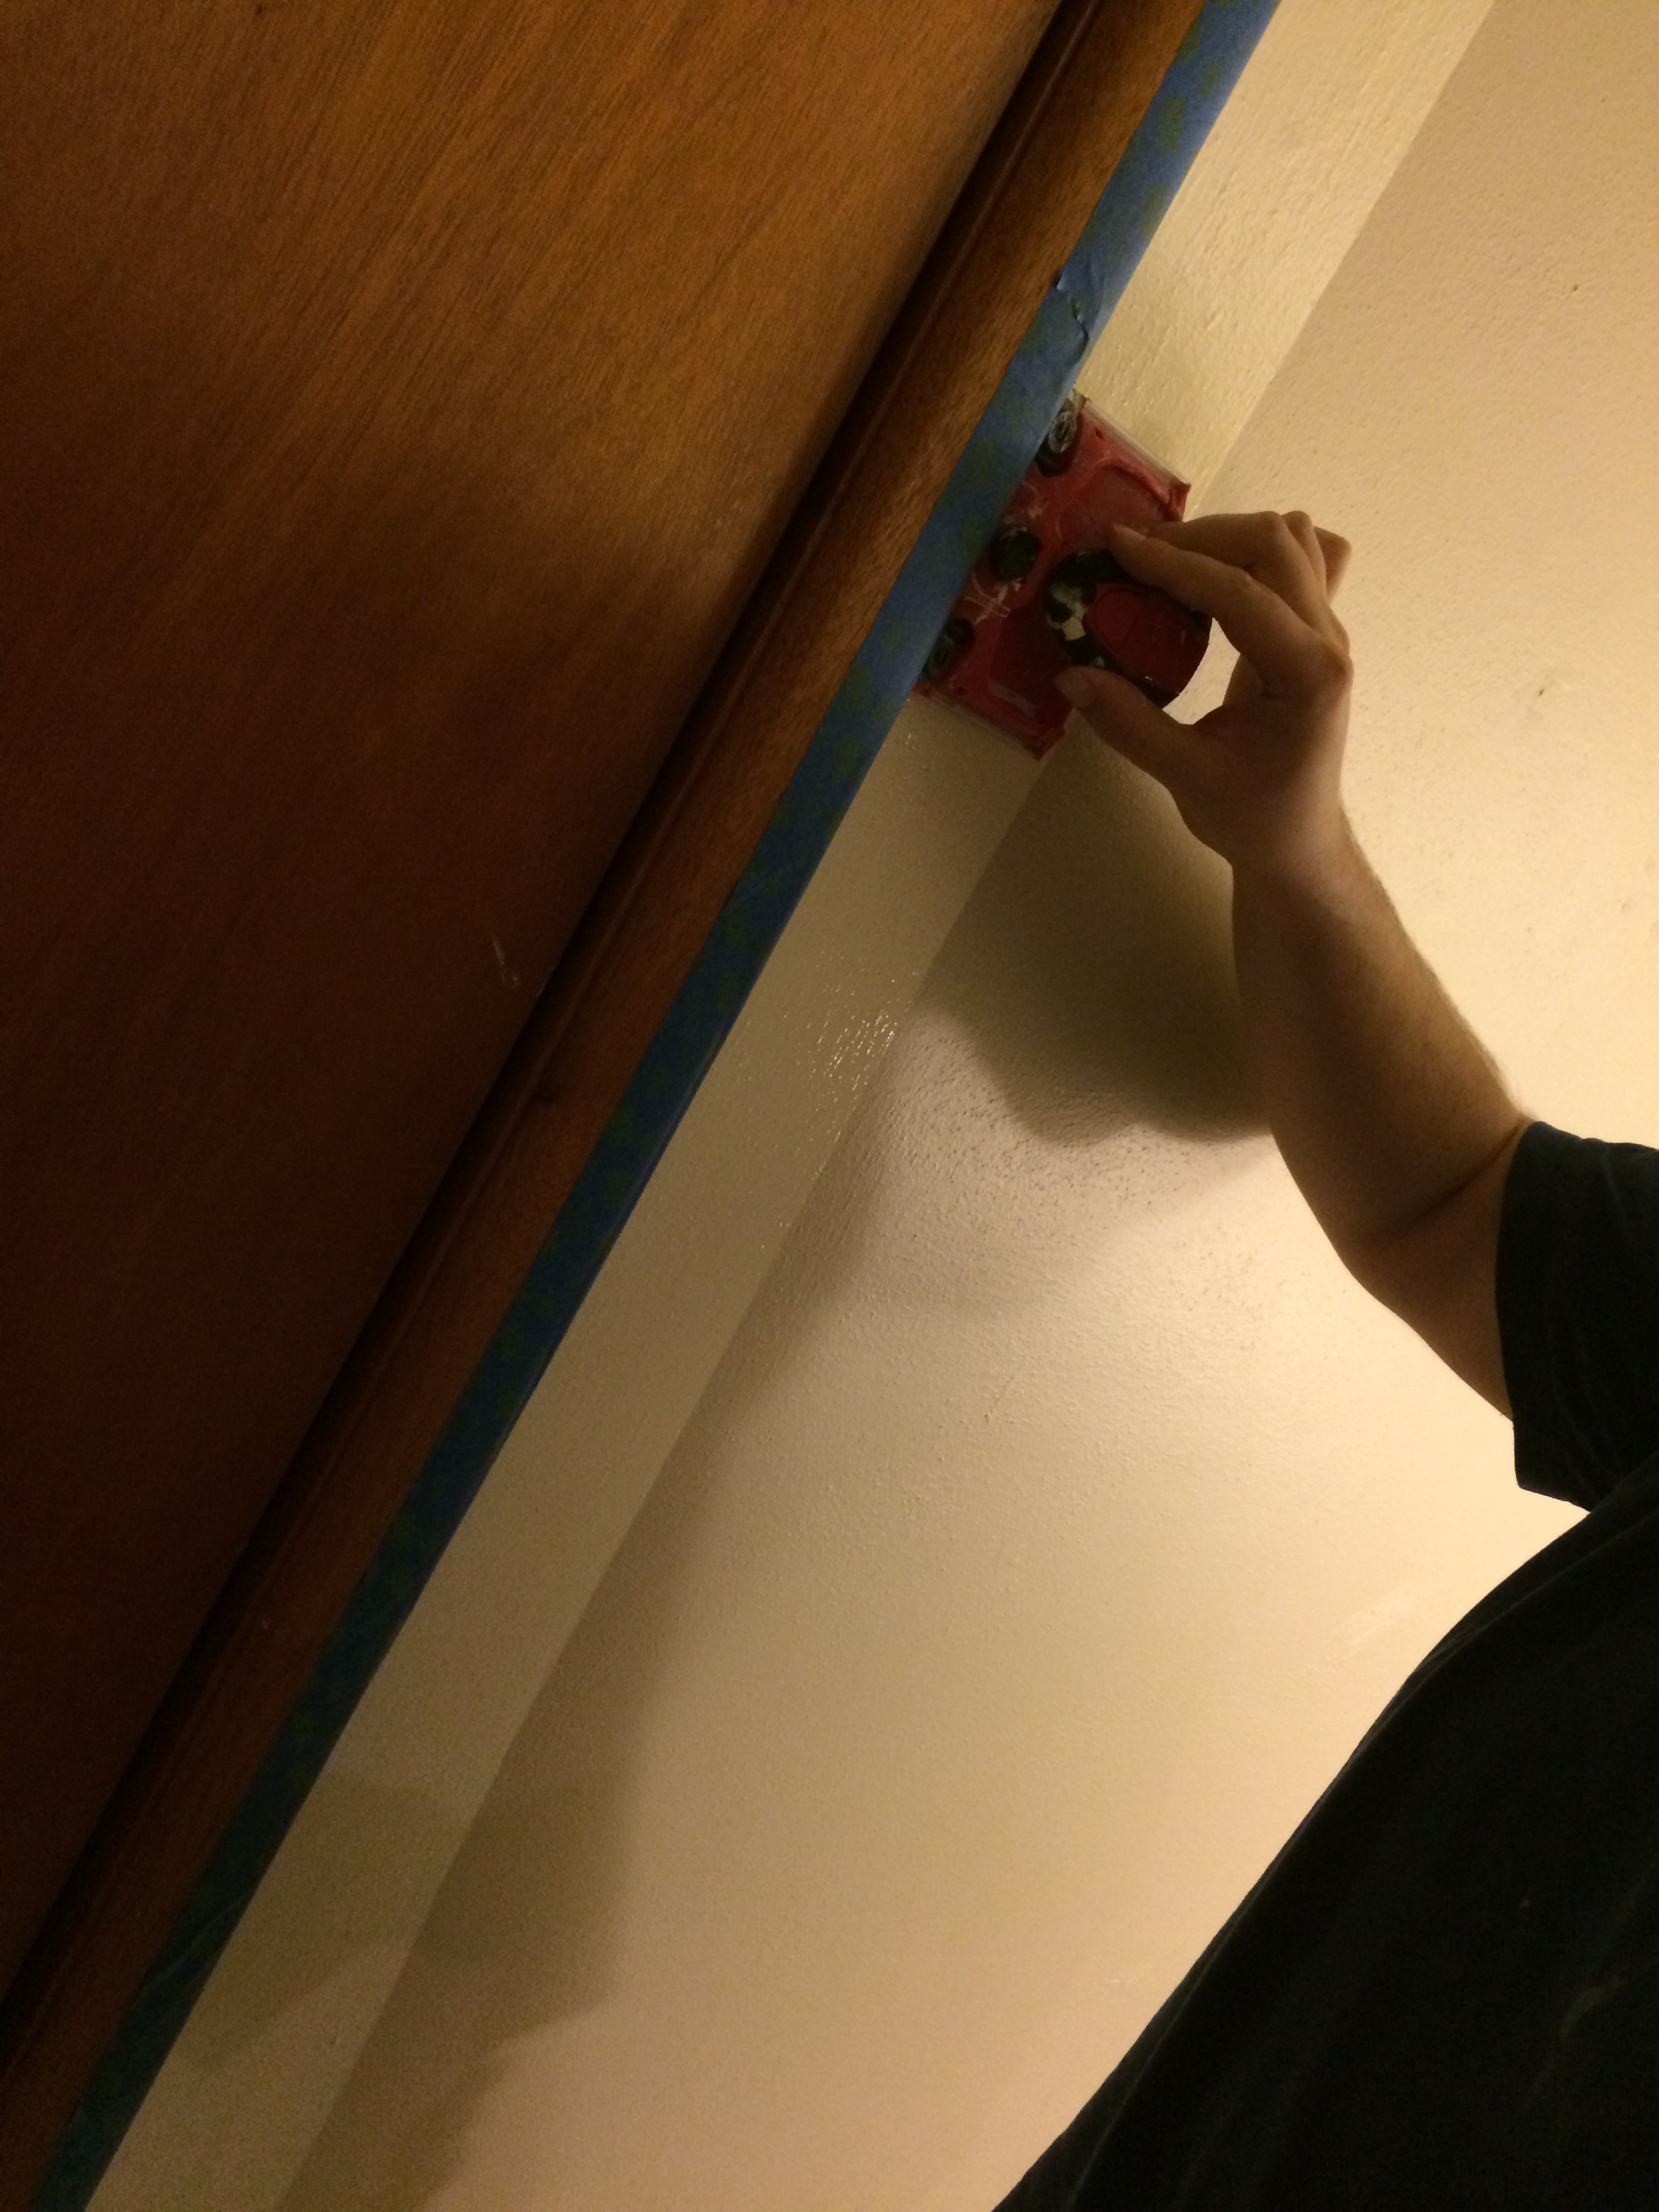
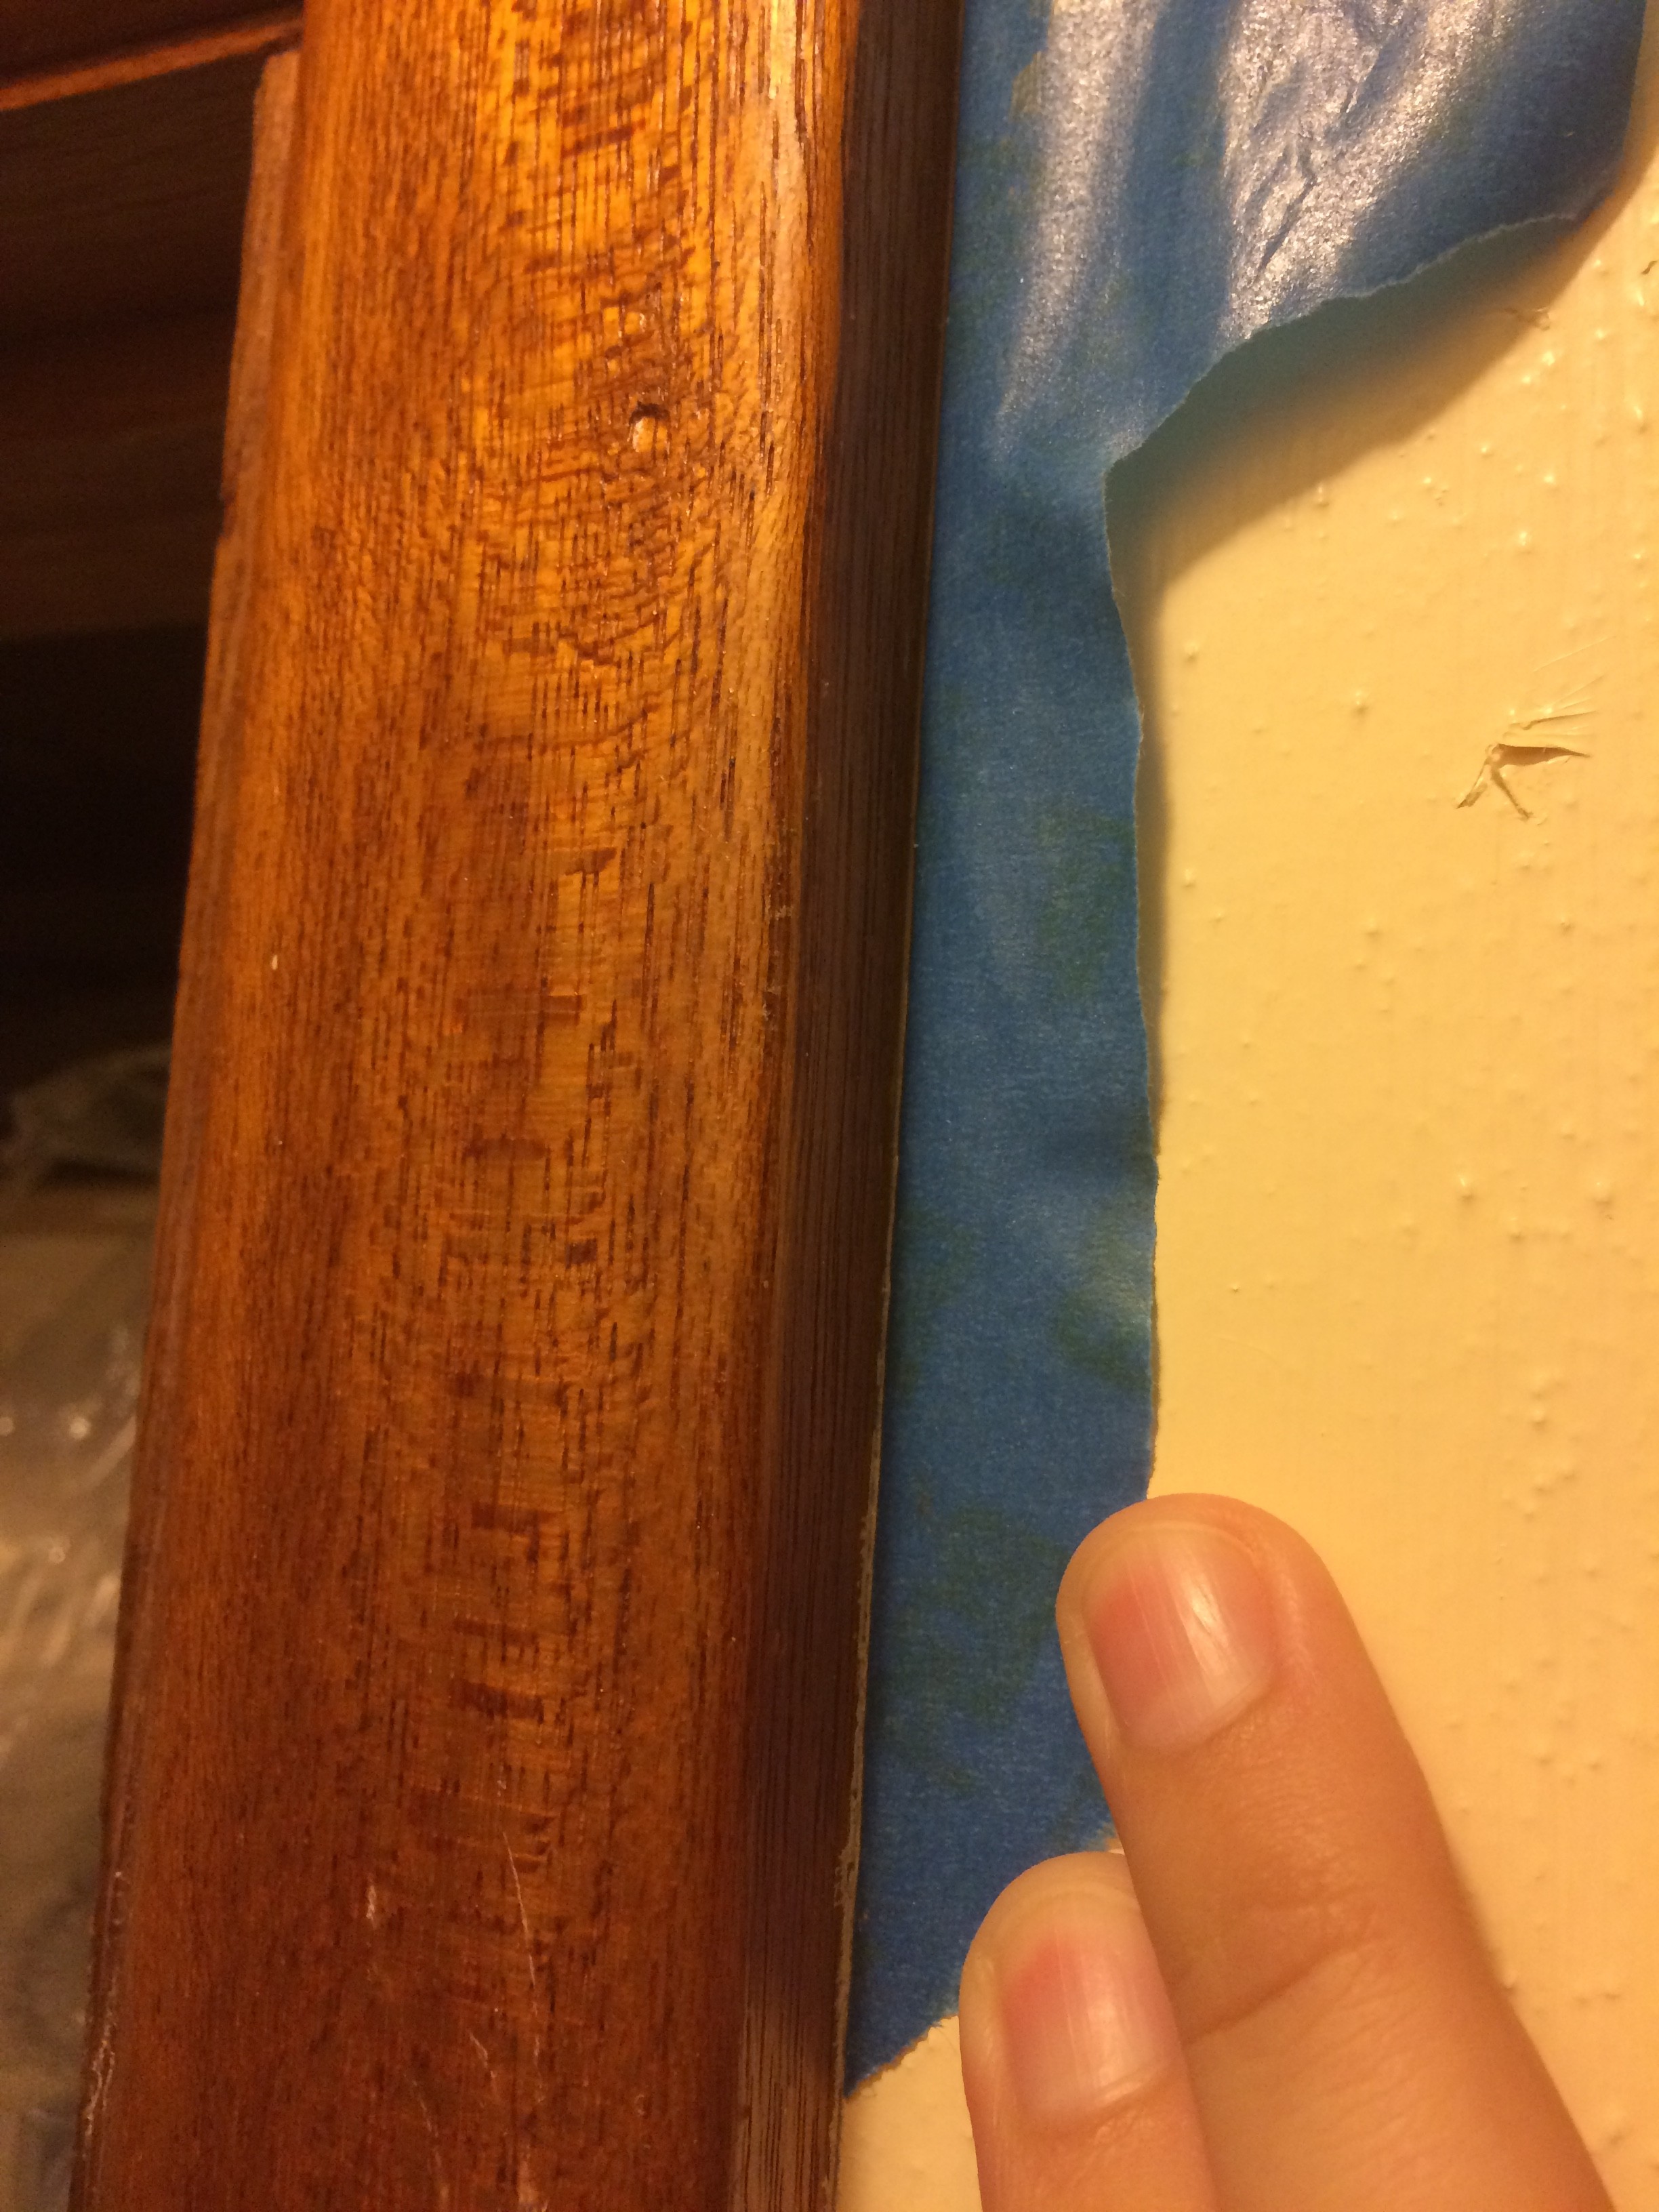
- Before you paint, tape the molding of the room and lay a tarp down on the floor. We also taped the floor just next to the wall, just in case the tarp slipped when we were working. You can also unscrew the light switch covers to avoid getting paint on them. However, if you do get latex paint on plastic light switch covers, don’t worry. It will peal right off once it’s dry.

- Move any animals away from the area being painted. Although latex paint is non-toxic, it probably still isn’t good for your cat to lick it out of its fur after it rubs against a wet wall. Also, this will prevent your walls from having cat hair embedded in the paint.
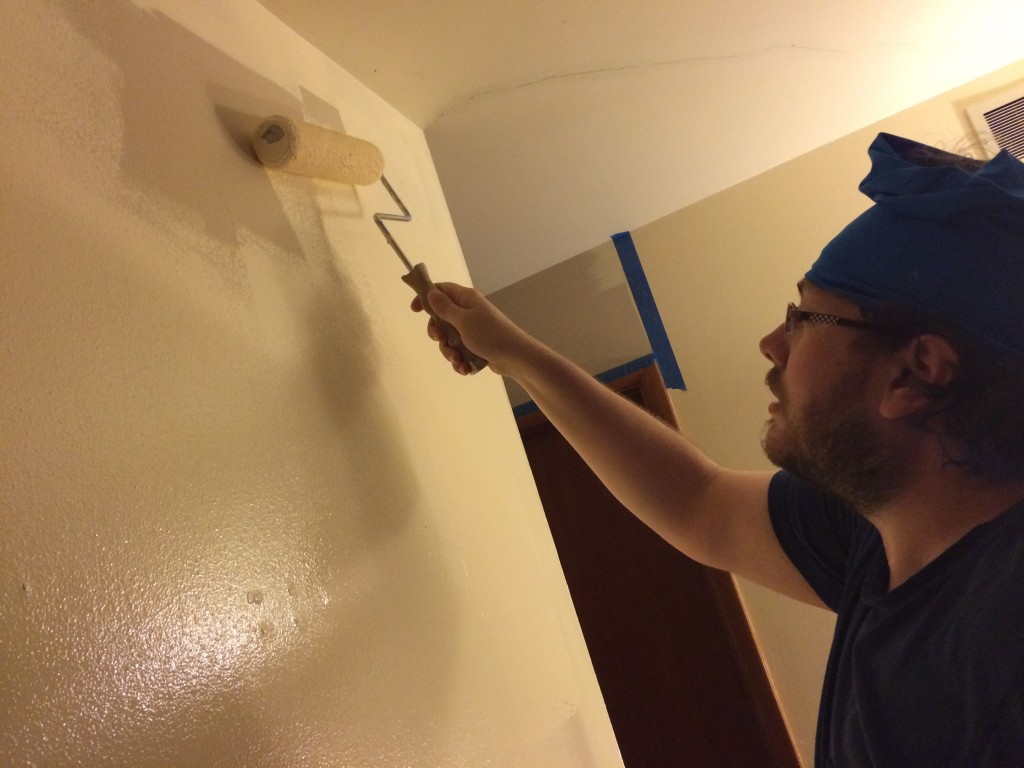
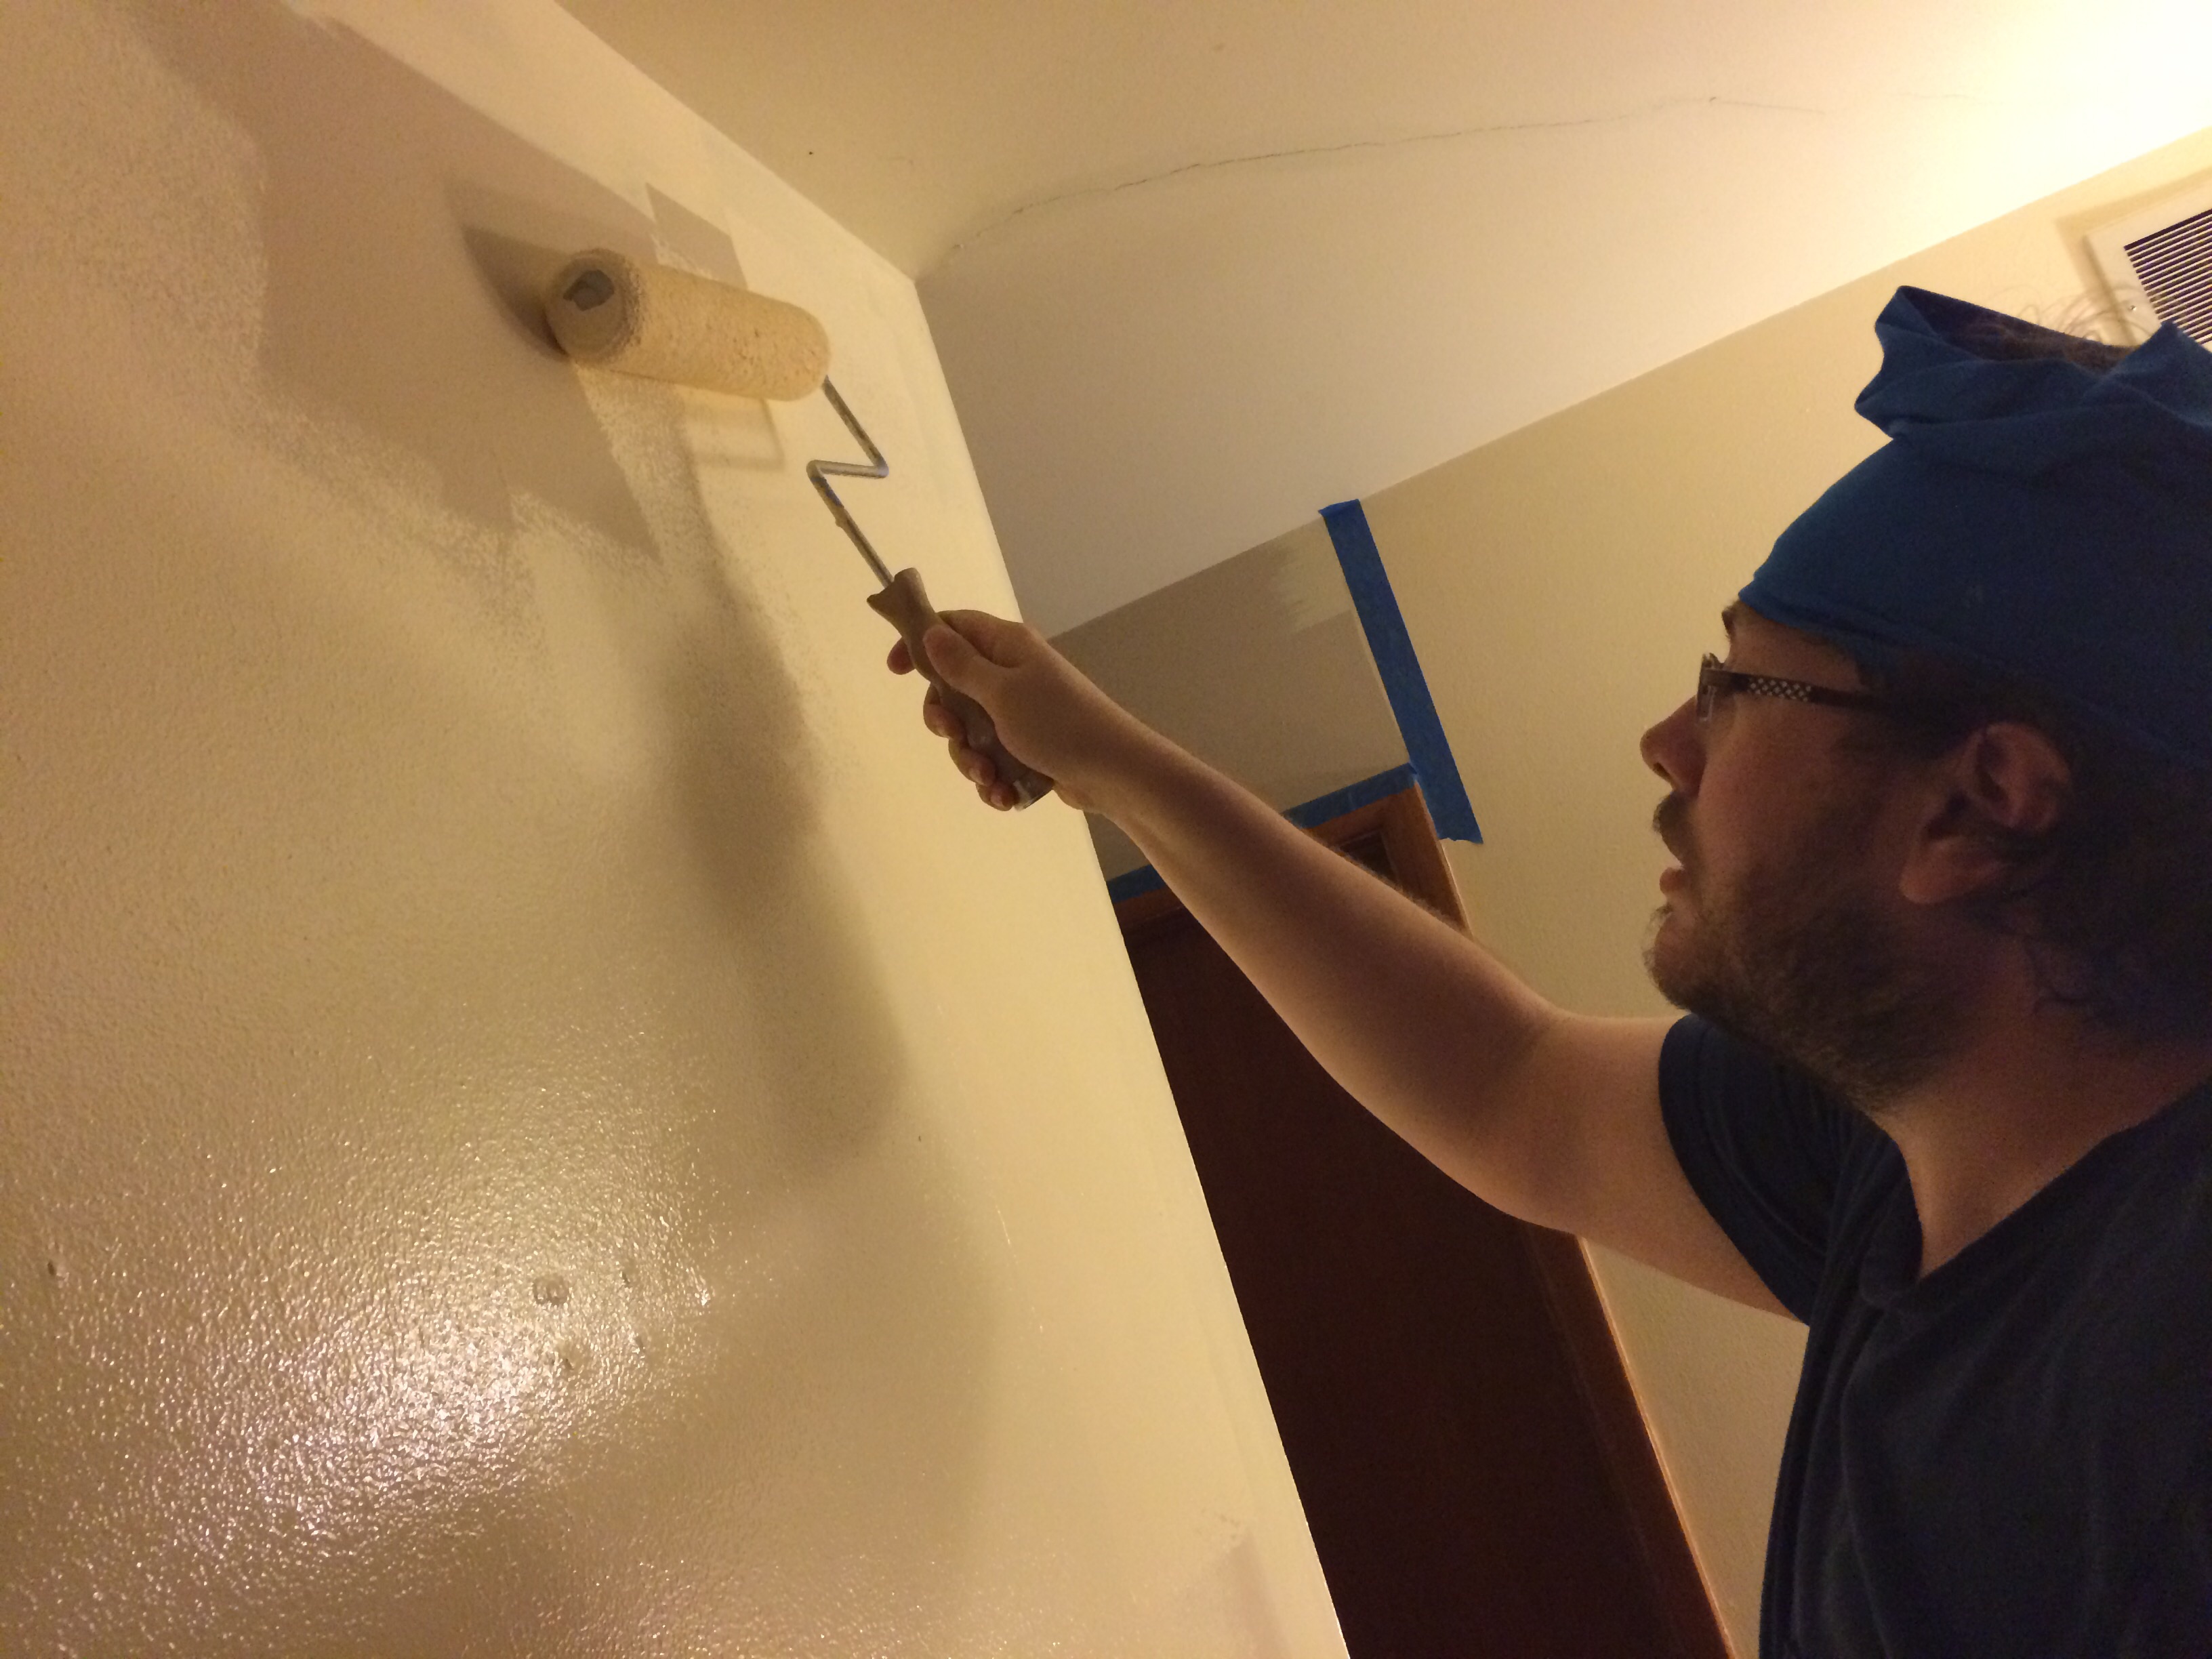
- After the tape is applied, begin painting. For most walls, a large roller is the fastest way to get an even coat. A square edger is great for the wall tops and bottoms, as well as around light switches and vents. For smaller spaces, traditional brushes of varying sizes may be used. Allow the paint to dry overnight.
- The next day, apply a second coat of paint in the same style as the first.

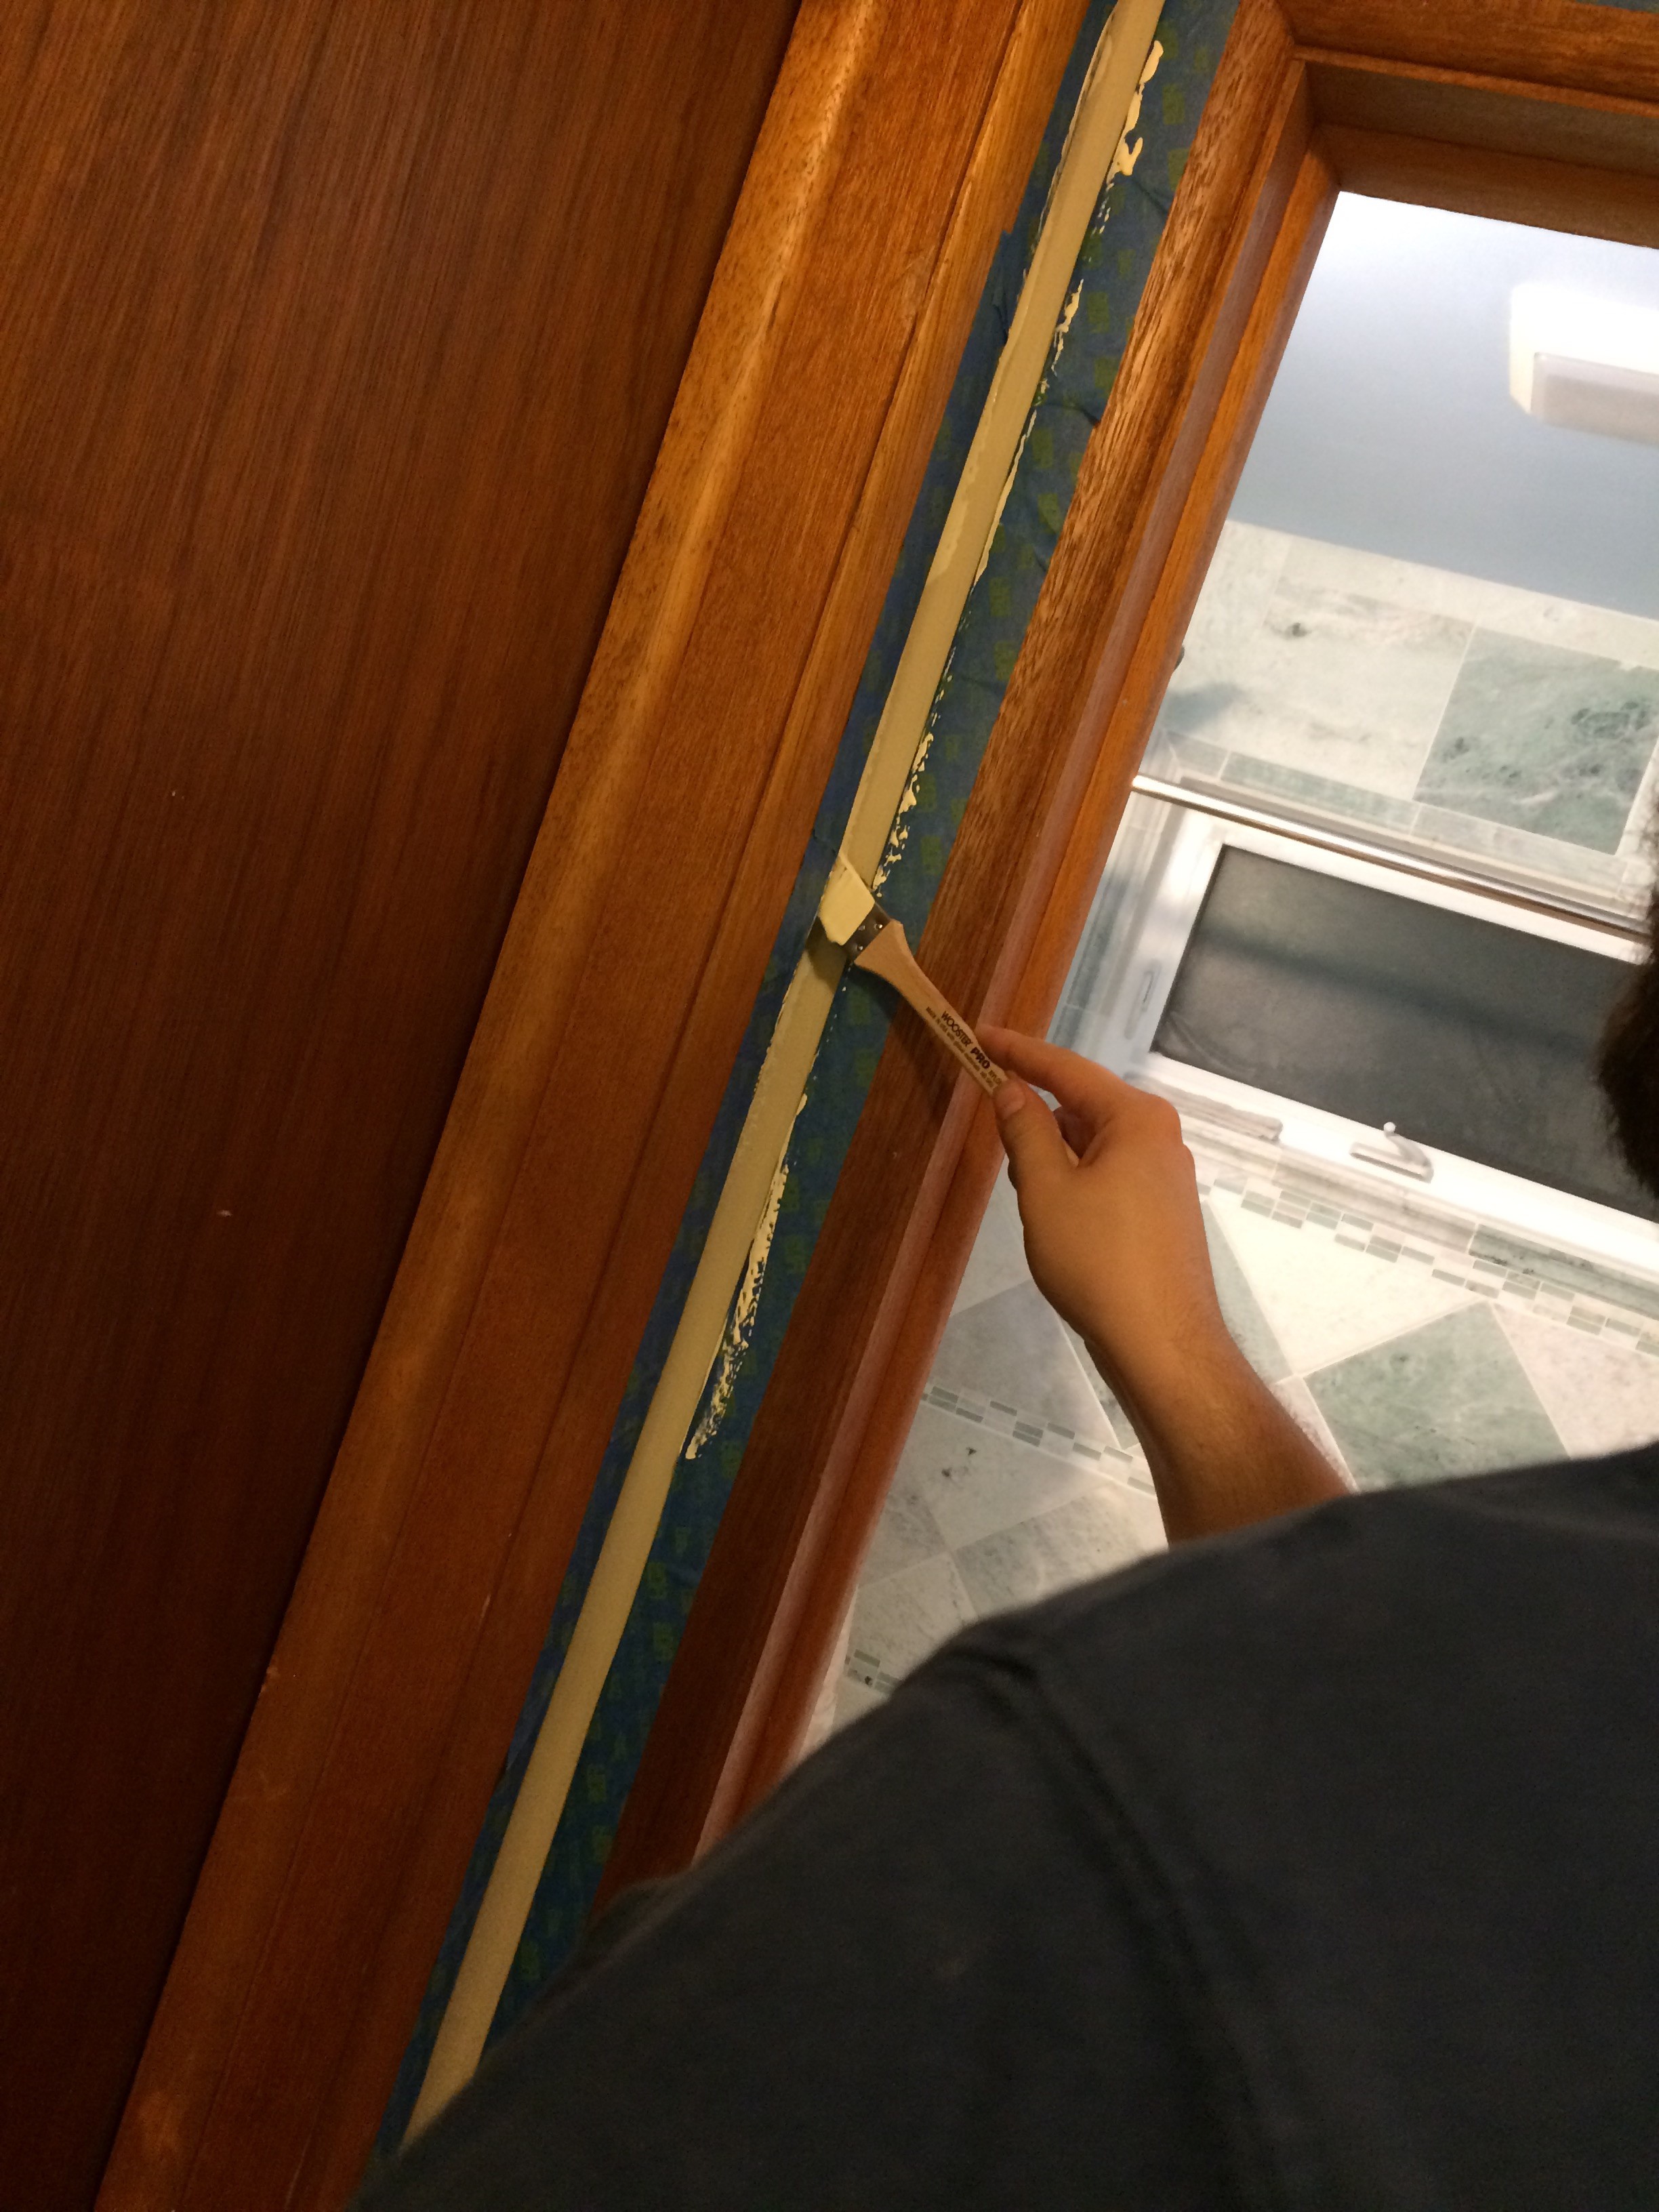
- On the third day, remove the tape. You’re finished painting!
Posted September 25th, 2016 by Admin
